The Internet of Things is not a single choice of technology, approach or philosophy. Its very existence is the bringing together of multiple platforms, products and protocols. One of the challenges of IoT is to make it as easy as possible to combine all those things together. Node-RED is an interesting looking visual tool for wiring the Internet of Things that I saw in use at Teknologia 15 fair demonstrations.
Node-RED is an open-source visual tool for wiring the Internet of Things. Node-RED is a tool for wiring together hardware devices, APIs and online services in new and interesting ways. Built on top of node.js, it provides a light-weight, browser-based editor that makes it easy to integrate different streams of both physical and digital events. IBM’s Node-RED visual coding tools are simplifying the job of wiring up today’s world of computers, sensors and online services. Node-RED provides a browser-based flow editor that makes it easy to wire together flows using the wide range nodes and JavaScript functions can be created within the editor. Hacking the world around you to bend it to your will is getting easier and easier. Node-RED is an event-processing engine that basically prevents hardware and software hackers from having to continually reinvent the wheel.
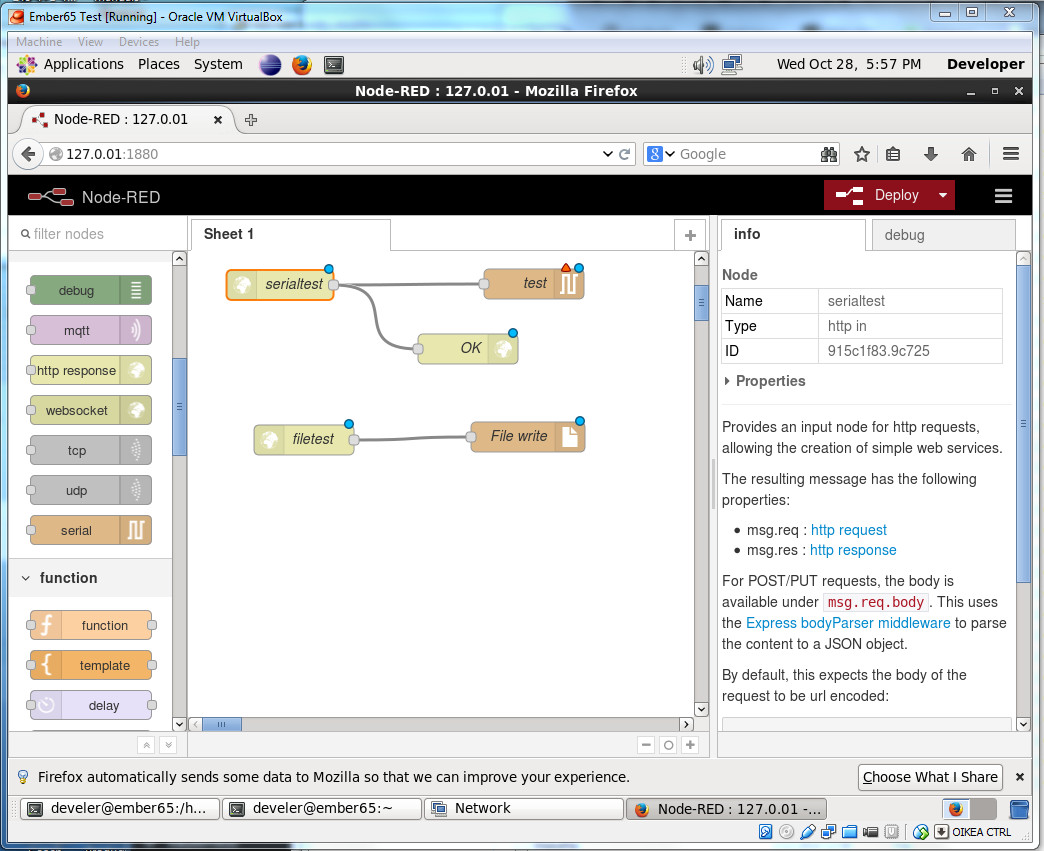
Node-RED runs typically on Linux computer or embedded Linux board like Raspberry Pi.
Here are some introductory videos on Node-RED:
Build a REST API For Your IoT Data Using MongoDB, Node-RED, and Bluemix
Wiring the Internet of Things with Node-RED
17 Comments
Tomi Engdahl says:
Rapid dashboarding with Node-RED
http://embeddedexperience.blogspot.fi/2016/02/rapid-dashboarding-with-node-red.html
Node-RED is great tool for data flow integrations. Even if Node-RED itself has graphical Web UI, it is not originally intended for UI development. Don’t worry, awesome people in the open source community have contributed an extension to Node-RED for rapid dashboard development.
Project called node-red-contrib-ui introduces number of widgets (nodes) in Node-RED enabling rapid dashboard implementation.
https://www.npmjs.com/package/node-red-contrib-ui
Tomi Engdahl says:
No coding required: Node-RED on a Raspberry Pi
https://opensource.com/article/17/7/nodered-raspberrypi-hardware?sc_cid=7016000000127ECAAY
Check out this tutorial to see how easy it is to set up hardware flows with Node-RED’s drag-and-drop interface
Tomi Engdahl says:
How to Node-RED!
https://www.youtube.com/watch?v=GeN7g4bdHiM
This video shows shows how to configure Node-RED on the Raspberry Pi and how to start creating home automation projects using MQTT and Node-RED. Some practical IoT examples are show.
Tomi Engdahl says:
WiFi Pool Controller Only Cost $20
https://hackaday.com/2018/06/07/wifi-pool-controller-only-cost-20/
Pools have come a long way. It used to be you had a pump and if you were lucky it had a mechanical timer switch on it. That was it. Now you have digital controllers and spa jets and heaters. You can even get them that connect to your home automation system. If your pool isn’t new enough to do that already, you can get a range of add-on accessories. For a price. [Rob] paid $500 to get a remote for his pool. It wasn’t even WiFi, just a simple RF remote. In 3 years, the transmitter had burned out ($300 to replace) and he decided he had enough. For $20, [Rob] added MQTT control and monitoring to his pool using an ESP8266. You can see the video description of the project below.
Connect your pool to your smart home for $20 with Arduino!
https://www.youtube.com/watch?v=QcaJlpVOJ8U
Tomi Engdahl says:
Using Chirpers with Hologram. io
https://www.hackster.io/virgilvox/using-chirpers-with-hologram-io-dd9582
Visually program IoT apps in the browser using an Arduino connected over cellular!
Chirpers.com is a Node-RED based IoT platform. It runs the entire designer in the browser session (even if you are offline) and is specially developed for the web. It has nodes for web-bluetooth, web-usb, and web-midi. You can build full featured IoT applications and connect to other platforms and services.
Best part? Totally free!
http://chirpers.com/
Tomi Engdahl says:
HOME// MICROZED CHRONICLES // ARDUINO// RASPBERRY PI// HARDWARE // IOT //
Receive Useful Notifications from Home Appliances with Node-RED
https://blog.hackster.io/receive-useful-notifications-from-home-appliances-using-node-red-5c1d0943f36
Web and firmware developer Xose Perez needed a way to keep tabs on when his washing machine had finished a load of laundry, based on the amount of power consumed during the washing process.
To monitor how much power was used for every load, and to get an alert message when it was finished, Perez repurposed an ITead Sonoff Wi-Fi wireless switch to get the data he needed.
To get an MQTT-based alert message sent to his smartphone, Perez created a Telegram bot, which lets you receive a short message with whatever data-driven information you want by using a Bot API. To read a complete walkthrough of Perez’s Node-RED notification platform, along with links to his GitHub page, head over to his website at
http://tinkerman.cat/useful-notifications-from-your-home-appliances-using-node-red/#lightbox-gallery-4h4tFy3D/0/
Tomi Engdahl says:
The Steps in Creating a Digital Twin
You can use an open IoT platform to build a digital twin on a Raspberry Pi.
https://www.designnews.com/electronics-test/steps-creating-digital-twin/34989275659708?ADTRK=UBM&elq_mid=6338&elq_cid=876648
Artificial intelligence (AI) and machine learning (ML) are making major impacts in the healthcare, advanced manufacturing, agriculture, and consumer electronics vertical markets. The ability to predict behaviors and trends or classify objects based on physical traits is accomplished through AI and ML technologies. With the aid of an Internet of Things (IoT) infrastructure, a digital twin can be created. Developing a digital twin requires the meshing of physical properties with an information communication technology (ICT) framework and software for data visualization. This data visualization represents real world events and characteristics of physical objects and processes.
In an industrial control process, the ability to monitor physical stimuli, such as temperature, pressure, vibration, and force, is important to the product manufacturer. Such physical stimuli affect the feel, function, and look of the manufactured product. To ensure the quality of the product meets the requirements of the customer, a specification is developed. The traditional method of using specifications was based on building a physical prototype for testing and data collection. Continuous building of the target physical prototype to adjust the function of the product is costly and time consuming.
However, the digital twin can address functional concerns through a visual representation of the physical prototype.
The Role of Node-RED in Visualization
Node-RED is a flow-based visualization programming tool that allows a variety of IoT networking architectures to be developed. The method of developing IoT networks is based on nodes exchanging data through message payloads. These payloads can be configured for digital, analog, and string data types. The nodes are connected using wires that pass data within the IoT’s application network.
If mathematical or conditional operations are required, function nodes can be created within Node-RED as well.
Javascript object notation (JSON) is a subset of the Javascript programming language that is a simplistic data-interchange format. JSON can be used to create special functions for enhancing the IoT flow-based application.
Flows and nodes can be added to the existing Node-RED palette based on community developed libraries. Flows are shared within the community using JSON files. This JSON-based application library allows the rapid development and deployment of the specific IoT application being built for the digital twin.
Using Raspberry Pi with the Digital Twin
Once the specific IoT application has been built, the flow diagrams are ready to be deployed. In constructing the specific IoT application, a digital twin can be created using a variety of dashboard nodes. These nodes can display received real-time data from the physical prototype. Electronic sensors assist in providing the real-time data from the node of the physical prototype. These electronic sensors are wired to an Arduino.
The Node RED application is one of the installed software programming packages on the Raspberry Pi.
Tomi Engdahl says:
Add Nest Functionality to your Thermostat for $5
https://hackaday.com/2018/11/06/add-nest-functionality-to-your-thermostat-for-5/
The Nest Thermostat revolutionized the way that people control the climate in their homes. It has features more features than even the best programmable thermostats. But, all of the premium features also come at a premium price. On the other hand, for only $5, a little coding, and the realization that thermostats are glorified switches, you can easily have your own thermostat that can do everything a Nest can do.
[Mat’s] solution uses a Sonoff WiFi switch that he ties directly into the thermostat’s control wiring. That’s really the easy part, since most thermostats have a ground or common wire, a signal wire, and a power wire. The real interesting work for this build is in setting up the WiFi interface and doing the backend programming
NEST your old thermostat under $5
https://notenoughtech.com/featured/nest-your-old-thermostat-under-5/
DHT11 reports every X seconds back to the NodeRED server.
I increased this frequency through the Tasmota’s console.
The MQTT node pulls the data from:
sonoff/tele/SENSOR
and keeps the most useful data in the following objects:
msg.payload.DHT11.Temperature
msg.payload.DHT11.Humidity
I decided that 5 seconds is a good refresh rate, therefore I’m pushing all needed values with this frequency. The only exception is the slider, which for obvious reason responds instantly.
The relay is connected via MQTT. Node is posting ON|OFF commands to the topic:
sonoff/cmnd/POWER1
The function node accepts the true|false from Alexa and also changes the state of the input according to the ‘heatingSwitch’ flow variable.
NodeRED: Function Node – Control Relay’
Tomi Engdahl says:
Interfacing Arduino MKR or ESP via MQTT – Node-RED 101
https://create.arduino.cc/projecthub/officine/interfacing-arduino-mkr-or-esp-via-mqtt-node-red-101-4833bc
A very basic tutorial on how to interface a microcontroller to an MQTT broker and interact with data on Node-RED.
Tomi Engdahl says:
NodeRED Multi-Node Redundancy Example
https://www.youtube.com/watch?v=-eNnhc7hSgE
A simple proof of concept showing how to implement multi-node redundancy using four NodeRED instances, with Modbus TCP Remote IO.
Tomi Engdahl says:
https://blog.paessler.com/prtg-and-node-red-building-iot-like-never-before
Tomi Engdahl says:
Basics: Connecting Home-Assistant to Node-red
https://www.thesmarthomebook.com/2021/04/14/basics-connecting-home-assistant-to-node-red/
Tomi Engdahl says:
What’s new in Node-RED 2.2
https://www.youtube.com/watch?v=vAS3gK2Wans
Node-RED 2.2 has been released – read more about it on the blog:
https://nodered.org/blog/2022/01/27/version-2-2-released
Tomi Engdahl says:
Remote-RED for Node-RED Tutorial 1 – Remote Access
https://www.youtube.com/watch?v=N9UP1b_T2_A
This video shows how to bring your Node-RED dashboard to your mobile. Without installing VPN or opening a forwarded port on your router. Just with adding Remote-RED and connect the apps.
More Informations about Remote-RED: https://www.remote-red.com/
Tomi Engdahl says:
Remote-RED for Node-RED Tutorial 2 – Interactive Push Notifications
https://www.youtube.com/watch?v=J2ZguKT_eh8
This video shows how to bring your Node-RED dashboard to your mobile. Without installing VPN or opening a forwarded port on your router. Just with adding Remote-RED and connect the apps.
More Informations about Remote-RED: https://www.remote-red.com/
Tomi Engdahl says:
Node-Red Dashboard Tutorial
https://www.youtube.com/watch?v=X8ustpkAJ-U
Tomi Engdahl says:
#255 Node-Red, InfluxDB, and Grafana Tutorial on a Raspberry Pi
https://www.youtube.com/watch?v=JdV4x925au0
How To Setup A Grafana Dashboard Step By Step
https://www.youtube.com/watch?v=4qpI4T6_bUw