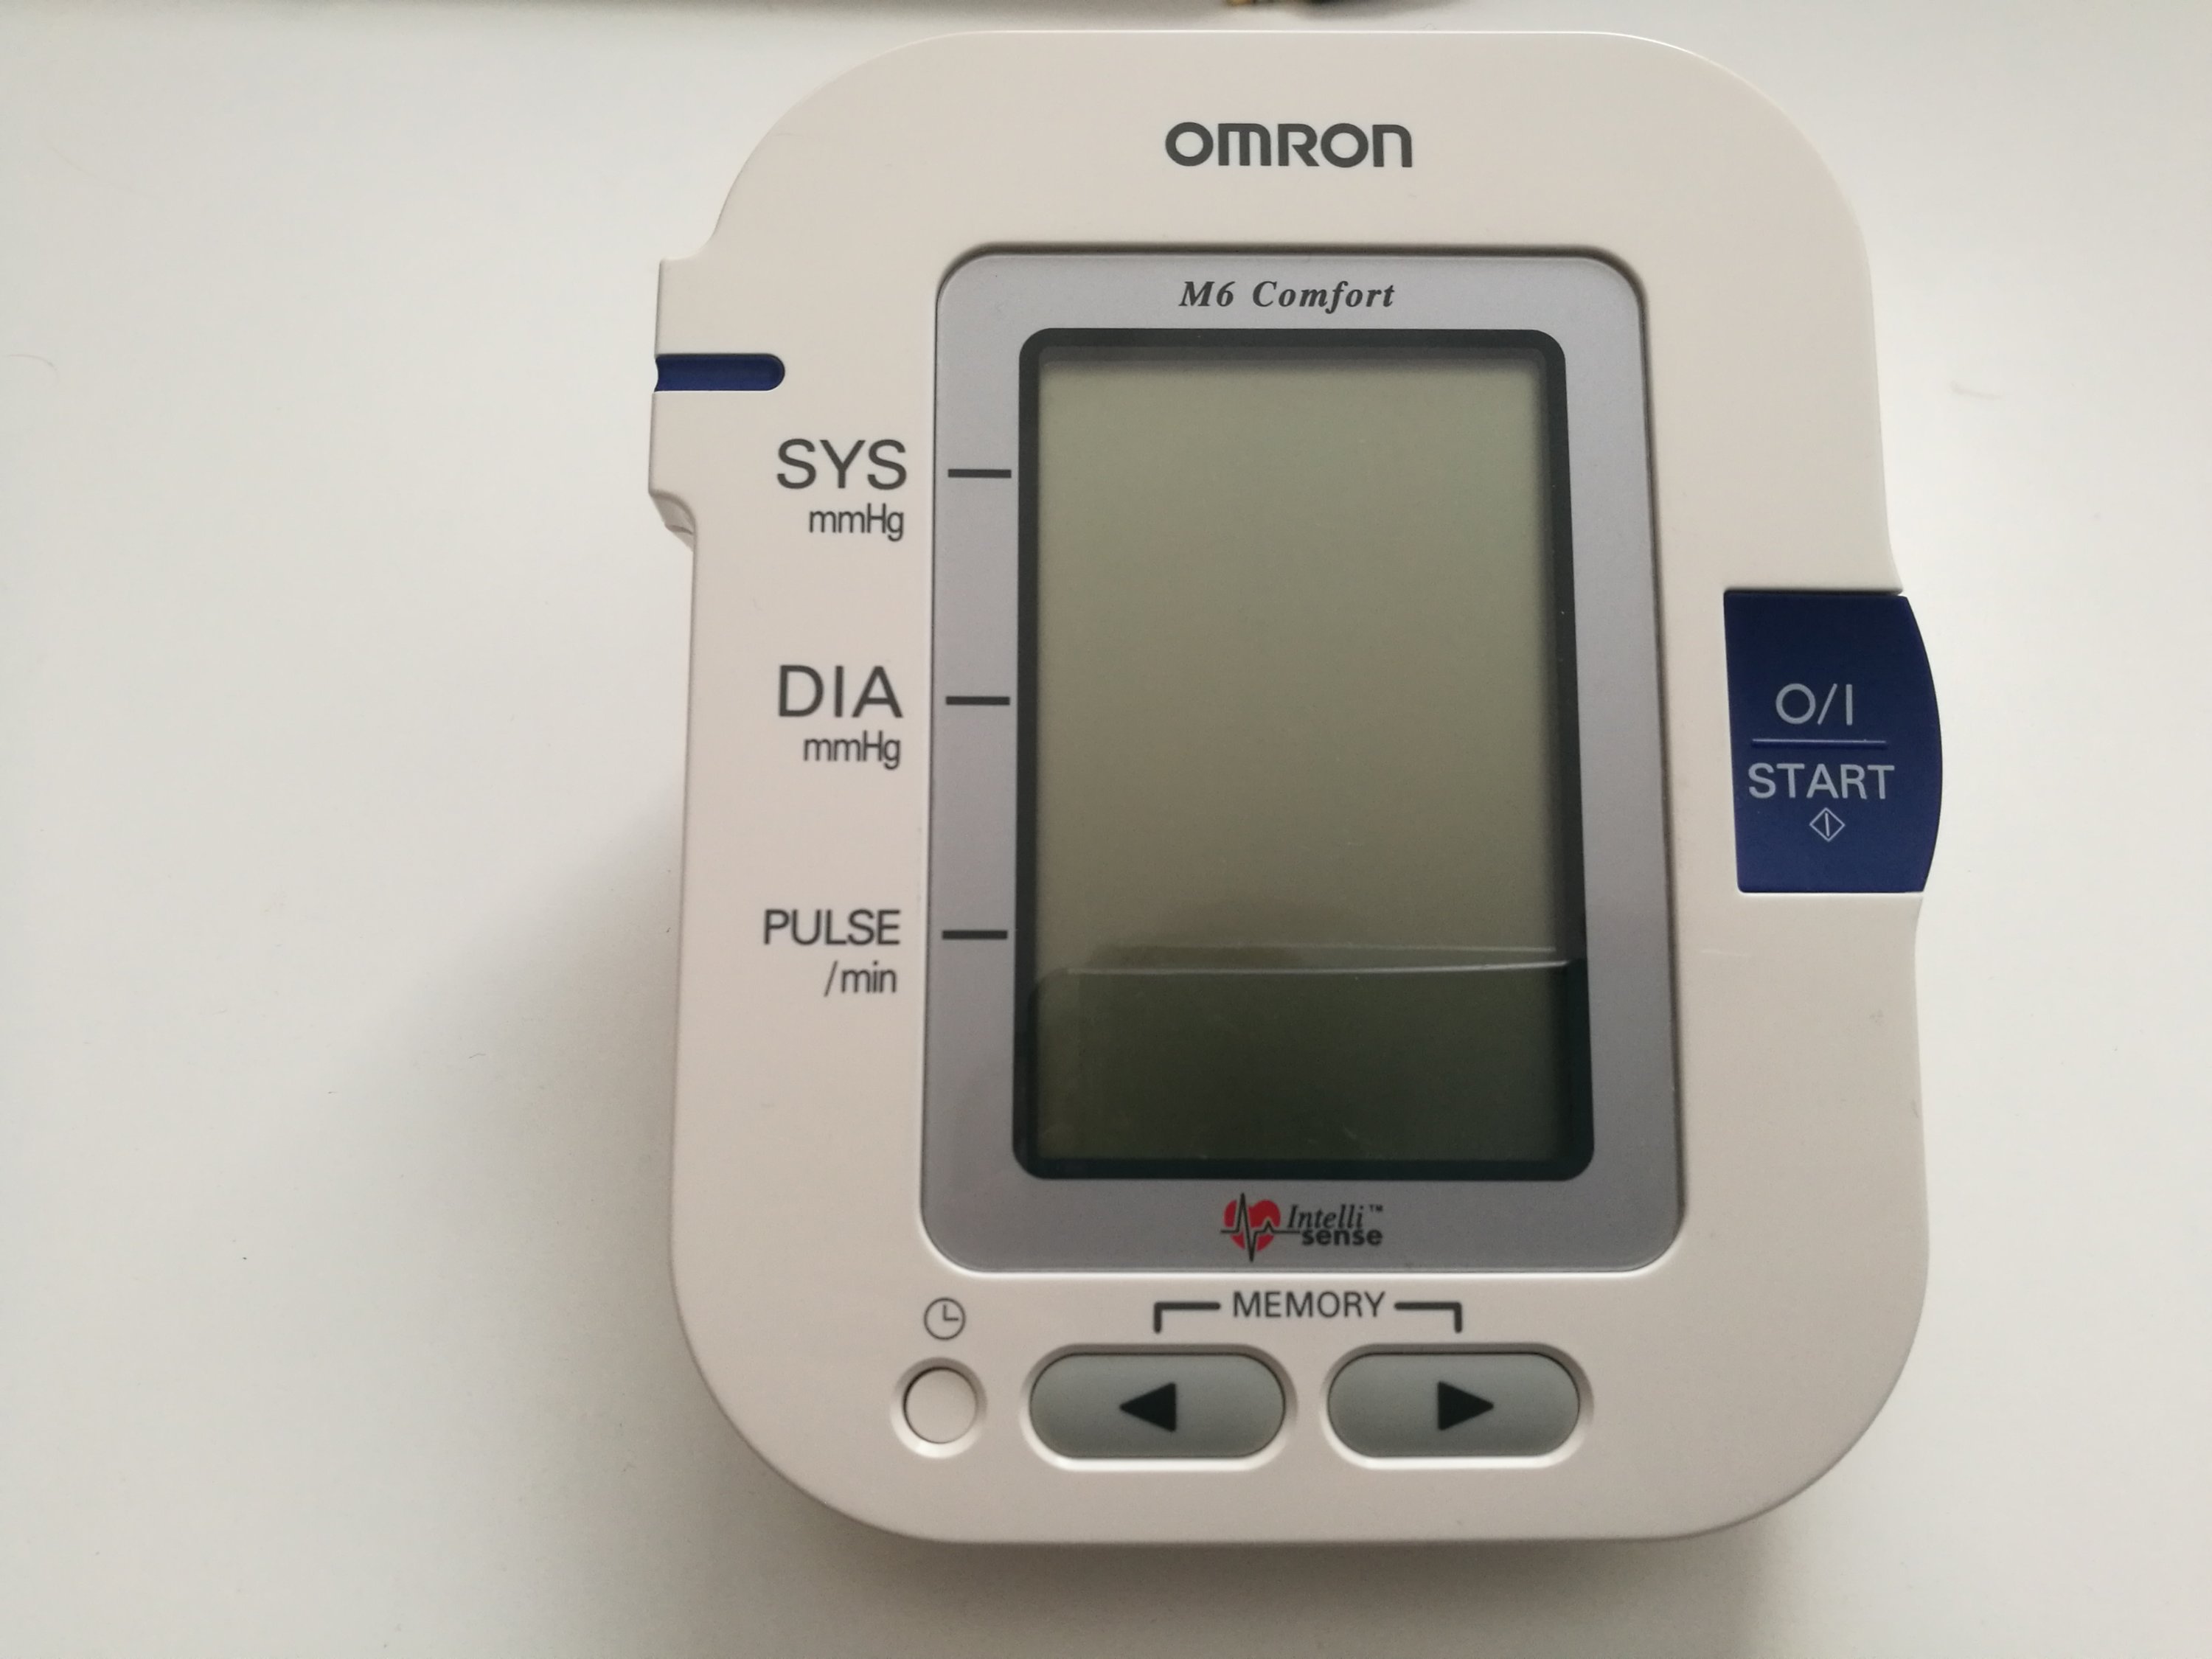
This is a teardown of an Omron M6 Comfort blood pressure monitor. This was several years old model (newer looks different). This teardown was done because this was no longer reliable – the display was missing most of graphics.
Let’s open it. Open two screws and use pry tool to open plastic case.

Let’s go deeper…
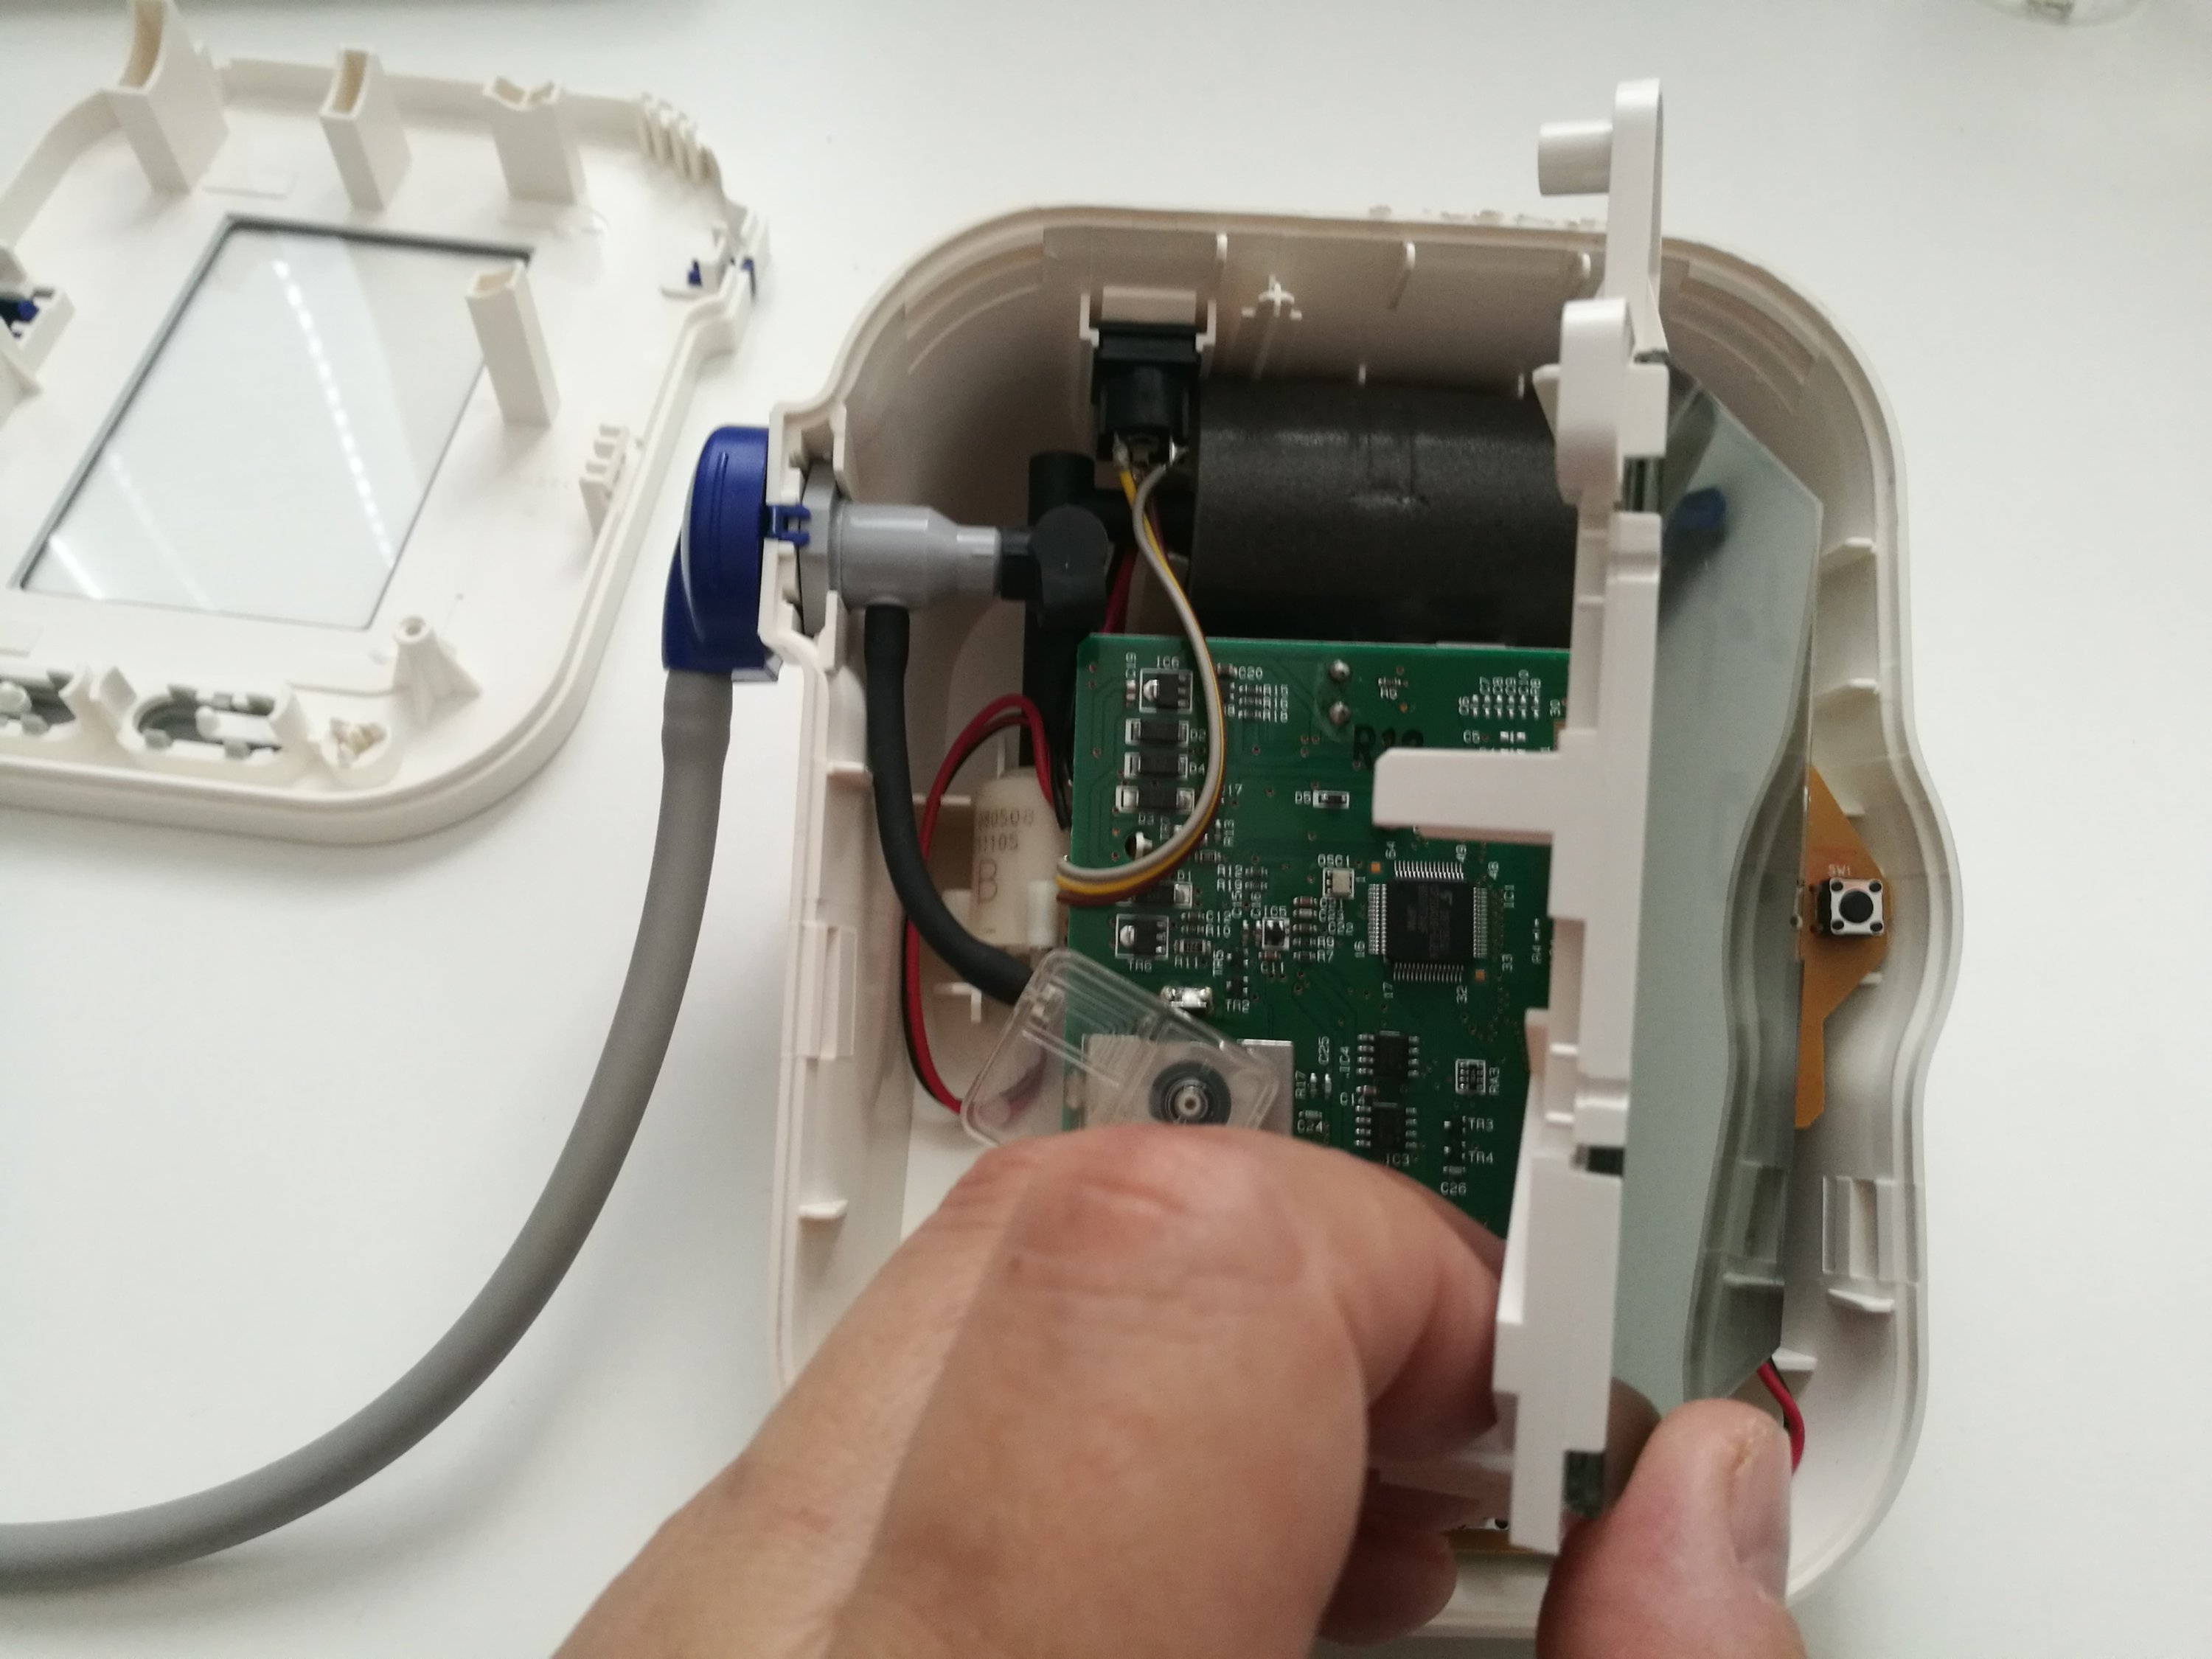
We finally see main circuit board, pressure pump, air valve and pressure sensor.
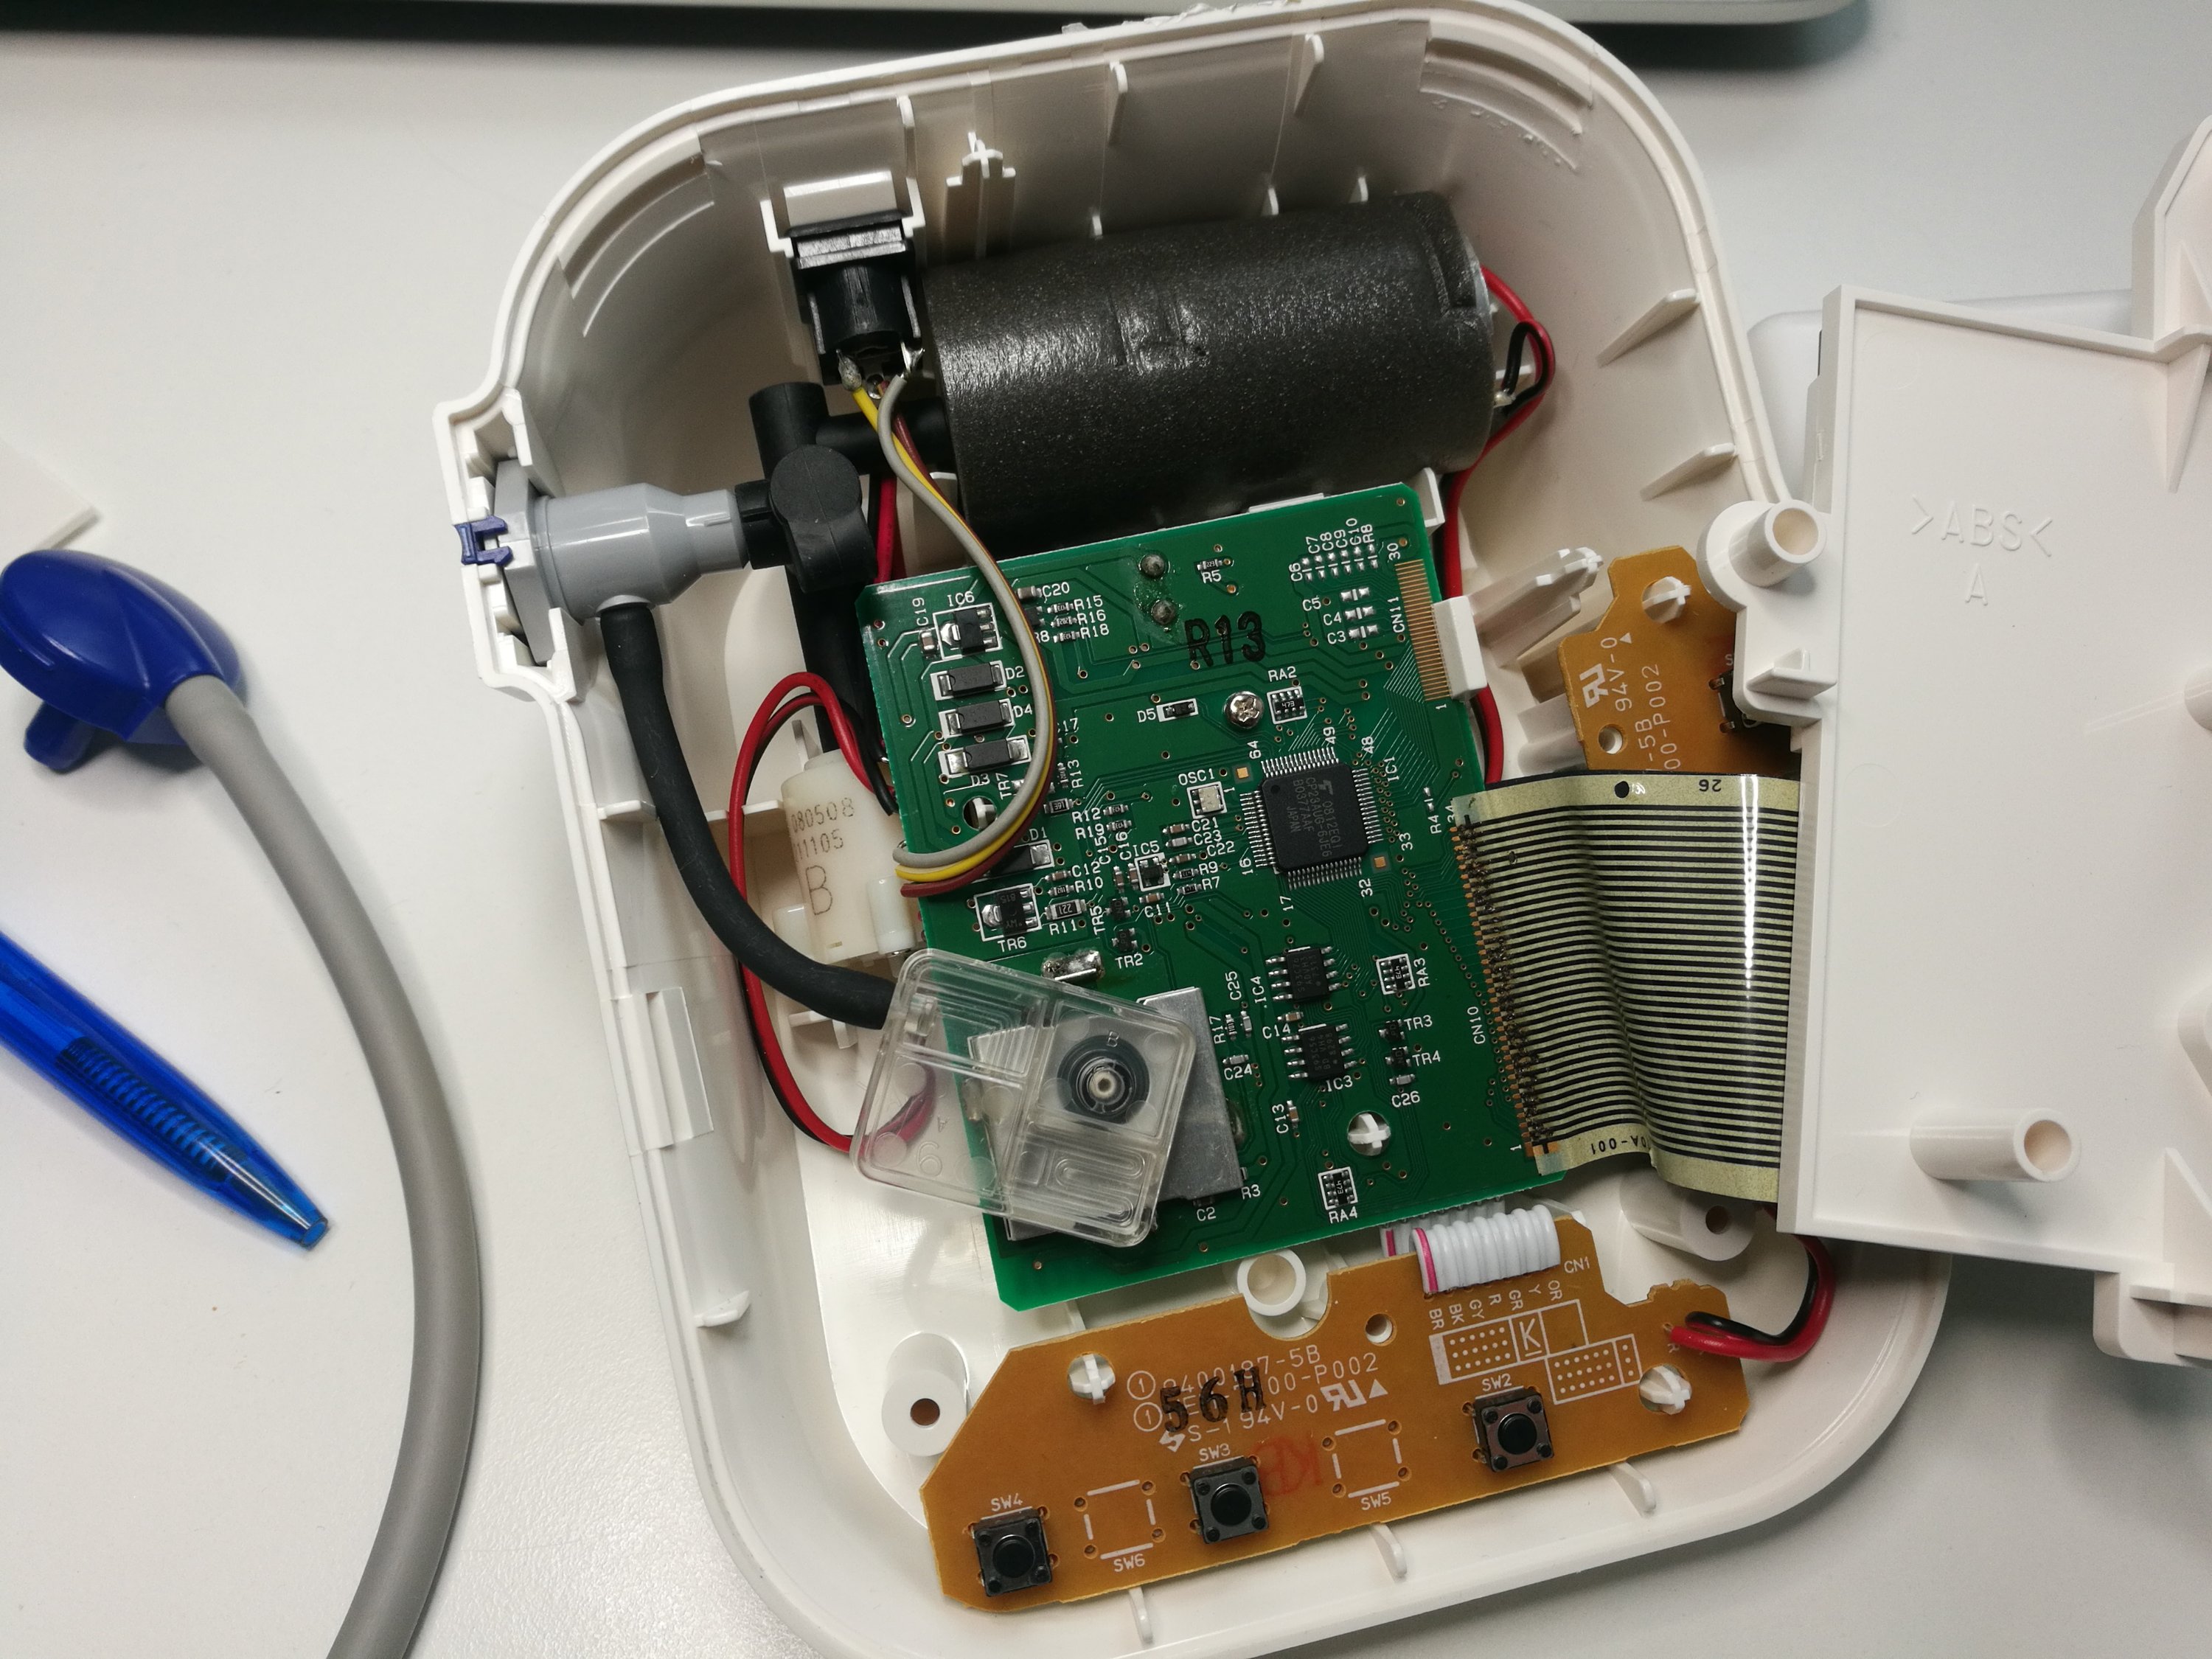
Main controller on circuit board has marking CP23AUG-6JE6. Not too much more interesting parts on the board.
The display problem was related to bad flat display cable connection to the board. Lot’s of bad and barely working connections. This is quite common reason why displays fail when product ages.
With some reheating I got many of them working, which looked promising. But finally not all needed to return displat to fully working condition… maybe there was issues beyond flat to board connection. So the repair attempt failed this time.
5 Comments
Kshitij Bali says:
Can you tell the specifics of the air pump
Milan says:
Potrebujem manuál na tento tlakomer v slovenčine. Mam ho už minimálne 15. rokov, sme s ním veľmi spokojný, no už od novoty nemám k nemu slovenský manuál
Ďakujem pekne.
Milan says:
Potrebujem manuál na tento tlakomer v slovenčine. Mam ho už minimálne 15. rokov, sme s ním veľmi spokojný, no už od novoty nemám k nemu slovenský manuál
Ďakujem pekne.
Jakub says:
I managed to repair the screen (it works now, how long will it work? no idea ). I briefly heated the flat screen cable where it connects to the main PCB and gently “ironed” it to the PCB with a tool made of plastic material (not to harm the cable).
Marcin says:
A już szukałem jaki kupić ciśnieniomierz bo nie mogłem odczytać pomiaru. Obudowę podważyłem uchwytami podobnymi do gitarowych i zeszła z zatrzasków. Dzięki opisowi w poście udało mi się naprawić wyświetlacz. Po zdjęciu obudowy dociskałem palcem taśmę łączącą wyświetlacz z płytką (połączenie taśmy z płytką PCB). Zaobserwowałem że wyświetlacz poprawia obraz w miejscu docisku od środka w dół złącza. Podgrzałem suszarką złączę (ponieważ nie posiadam lutownicy na gorące powietrze ani opalarki elektrycznej), następnie docisnąłem taśmę do PCB drewnianą częścią pędzelka i wyświetlacz świeci jak nowy :).