I had earlier written about NanoVNA and how the device I got came without battery. The device supports rechargeable LiPo batteries, but the batteries are not included on the model I bought because of the safety of international transportation.
I also liked to have the LiPo battery installed on my device. The device has battery charging circuitry, so installing suitable LiPo battery should make it very portable instrument. So the next task is to find a suitable battery and installing it. A 500mAh battery should give operation time for 2 hours. That’s what I am aiming to.
The issue in installing the battery is to fund a suitable LiPo battery that I could reasonably get. There is size limitations when I want to install it inside the device. There is a place prepared on the the circuit board for the battery. There is room slightly more than approximately 20x40x6 mm on the circuit board for battery. If the battery is thinner (5 mm or thinner), a slightly wider battery could be installed.
Searching for suitable LiPo was not the easiest task. Most widely available LiPo batteries I could find were 8 mm thick, which is too thick for this device. The size was also a problem, as many were longer and wider than needed. And some thin ones that were thin had very low capacity. Quite often when I found something that looked OK, they were sold out or they could not be transported where I could like (duesafety of international transportation that limit Lithium battery transportation).
Finally I saw something suitable I could pick locally from Helsinki Finland. Electronics component shop Partco had product Li-Po AKKU 3,7V 550mAh (product code Z-LIPO L503040). The size of it was 5 x 30 x 40 mm.
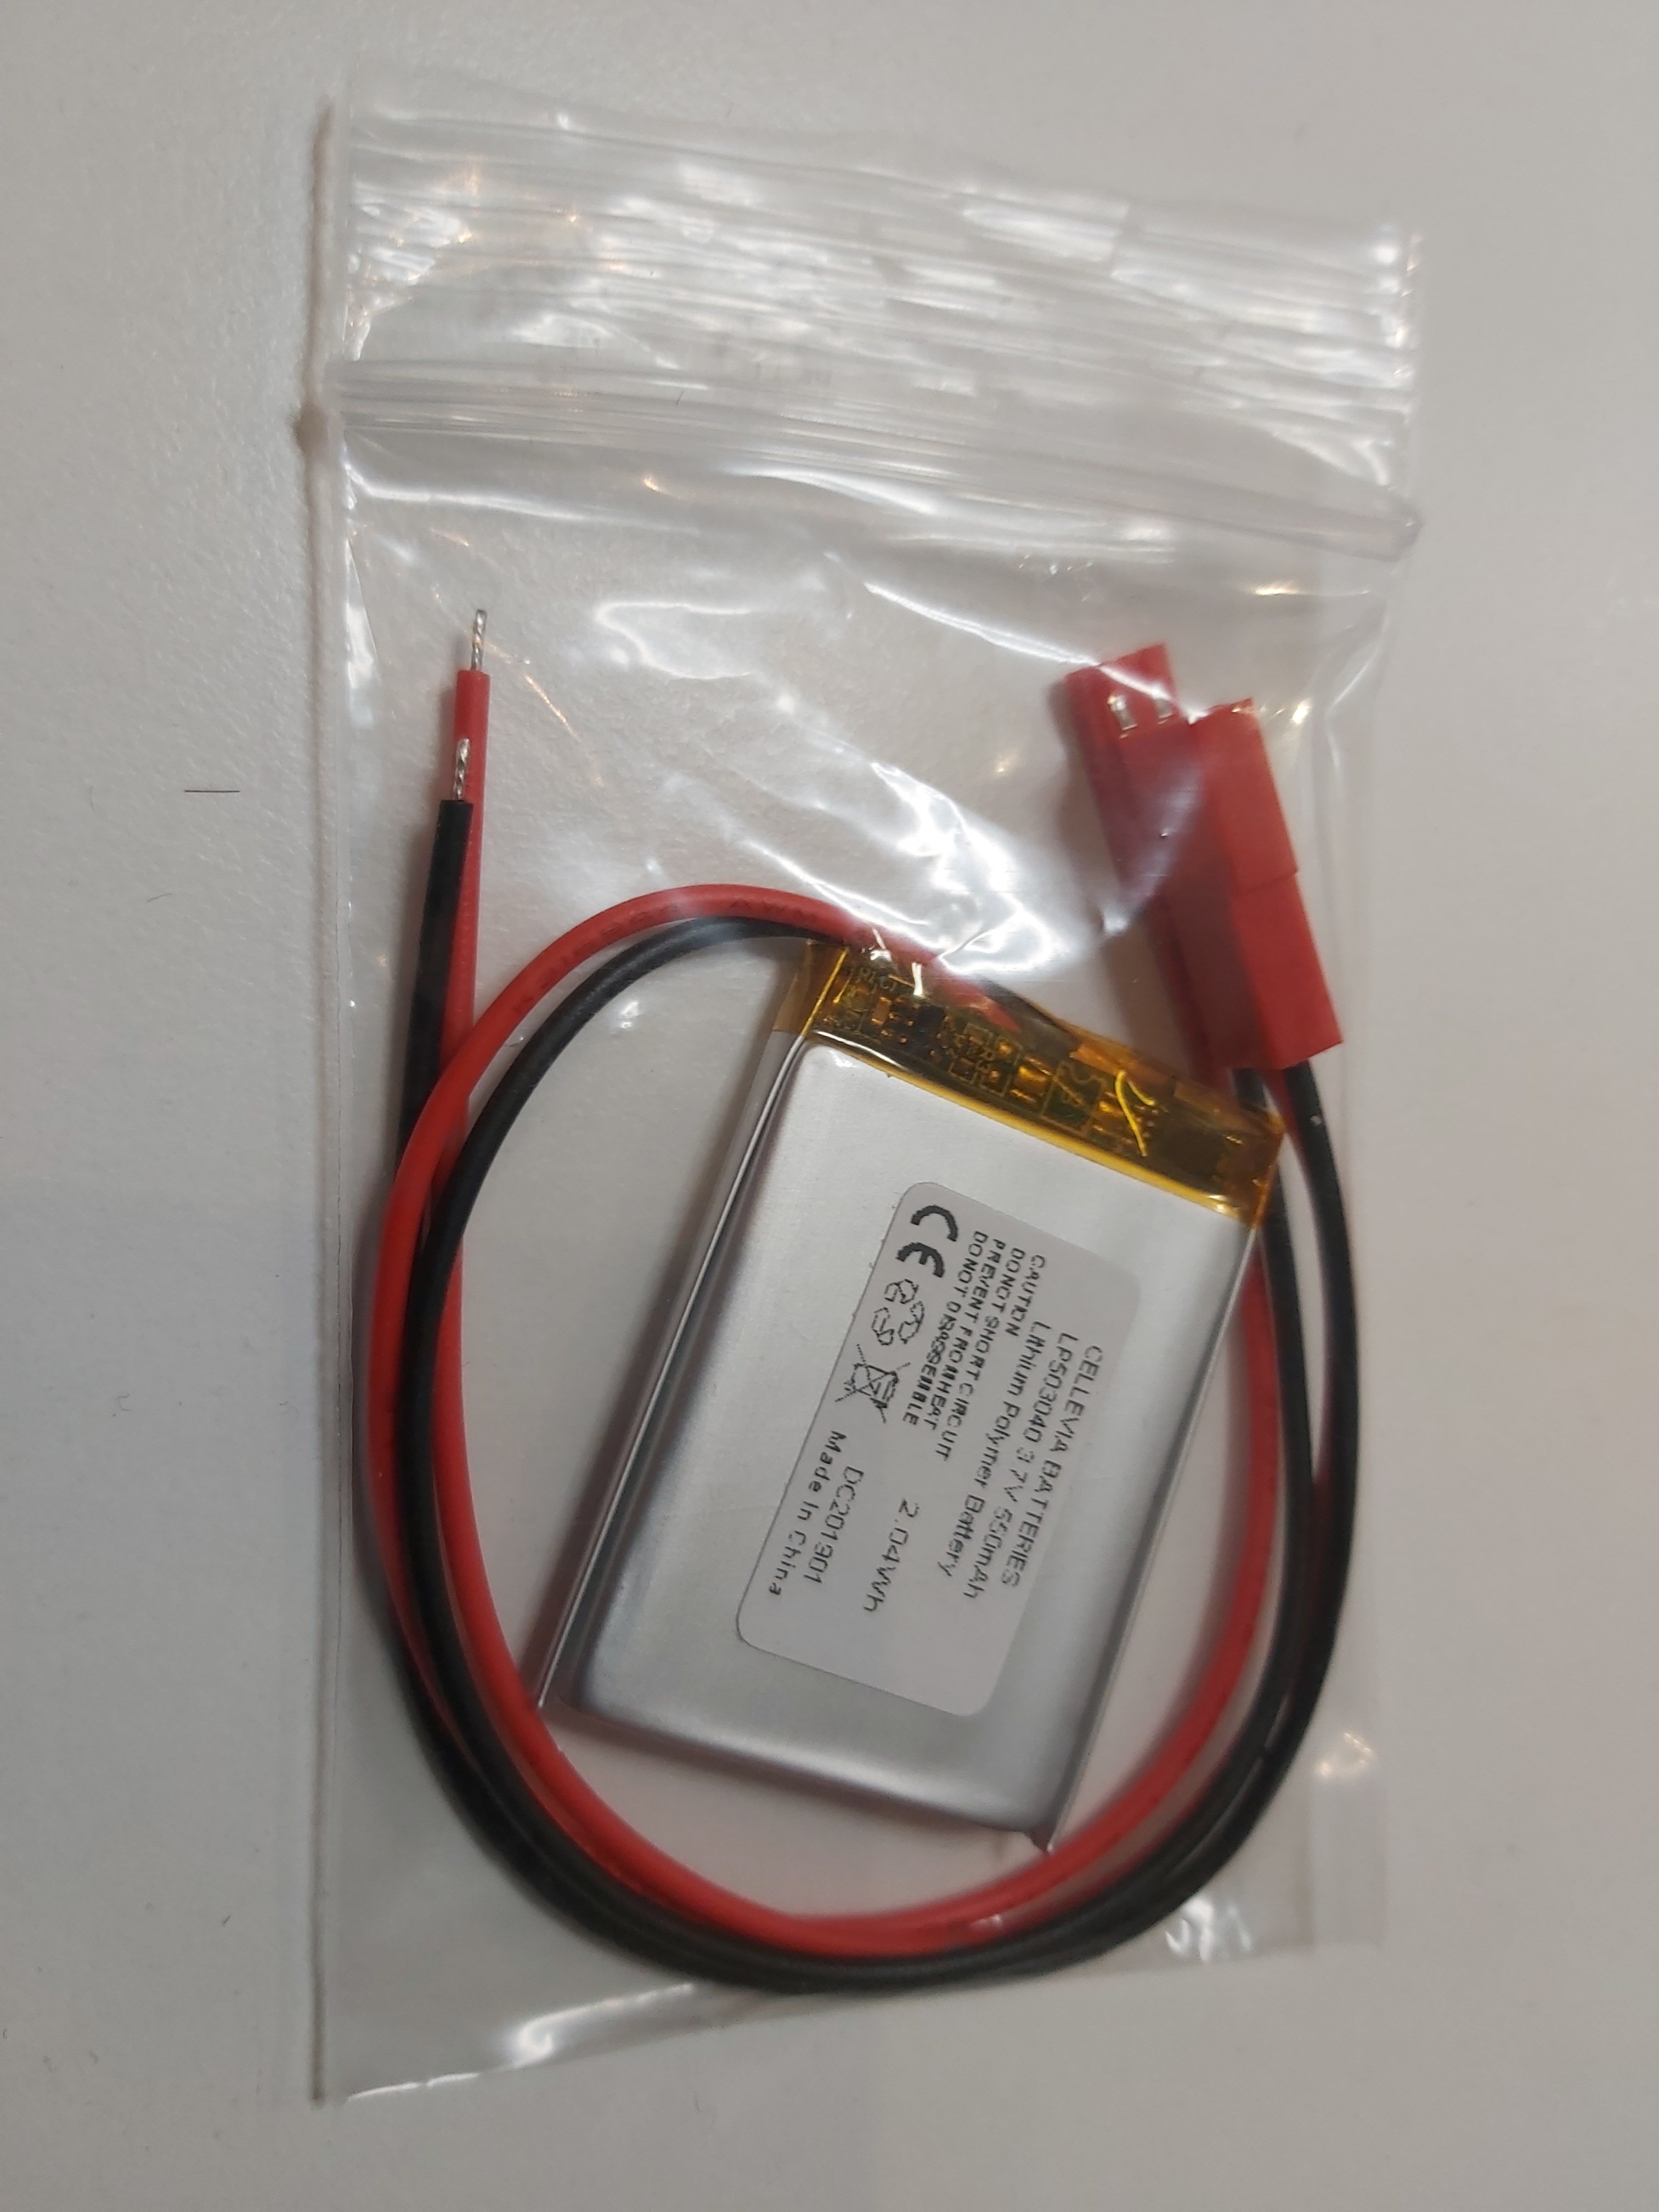
The battery came with connection wires, connector and some kind of built-in protective electronics. It is just matter of installing this battery to the correct location. I decided to solder the connector to the circuit board so I could easily install and remove the battery if needed. I could have soldered the battery wires to circuit board, but removable battery felt like better because it would be easier to debug even though I would need to somehow fit the slightly too long wires somewhere.
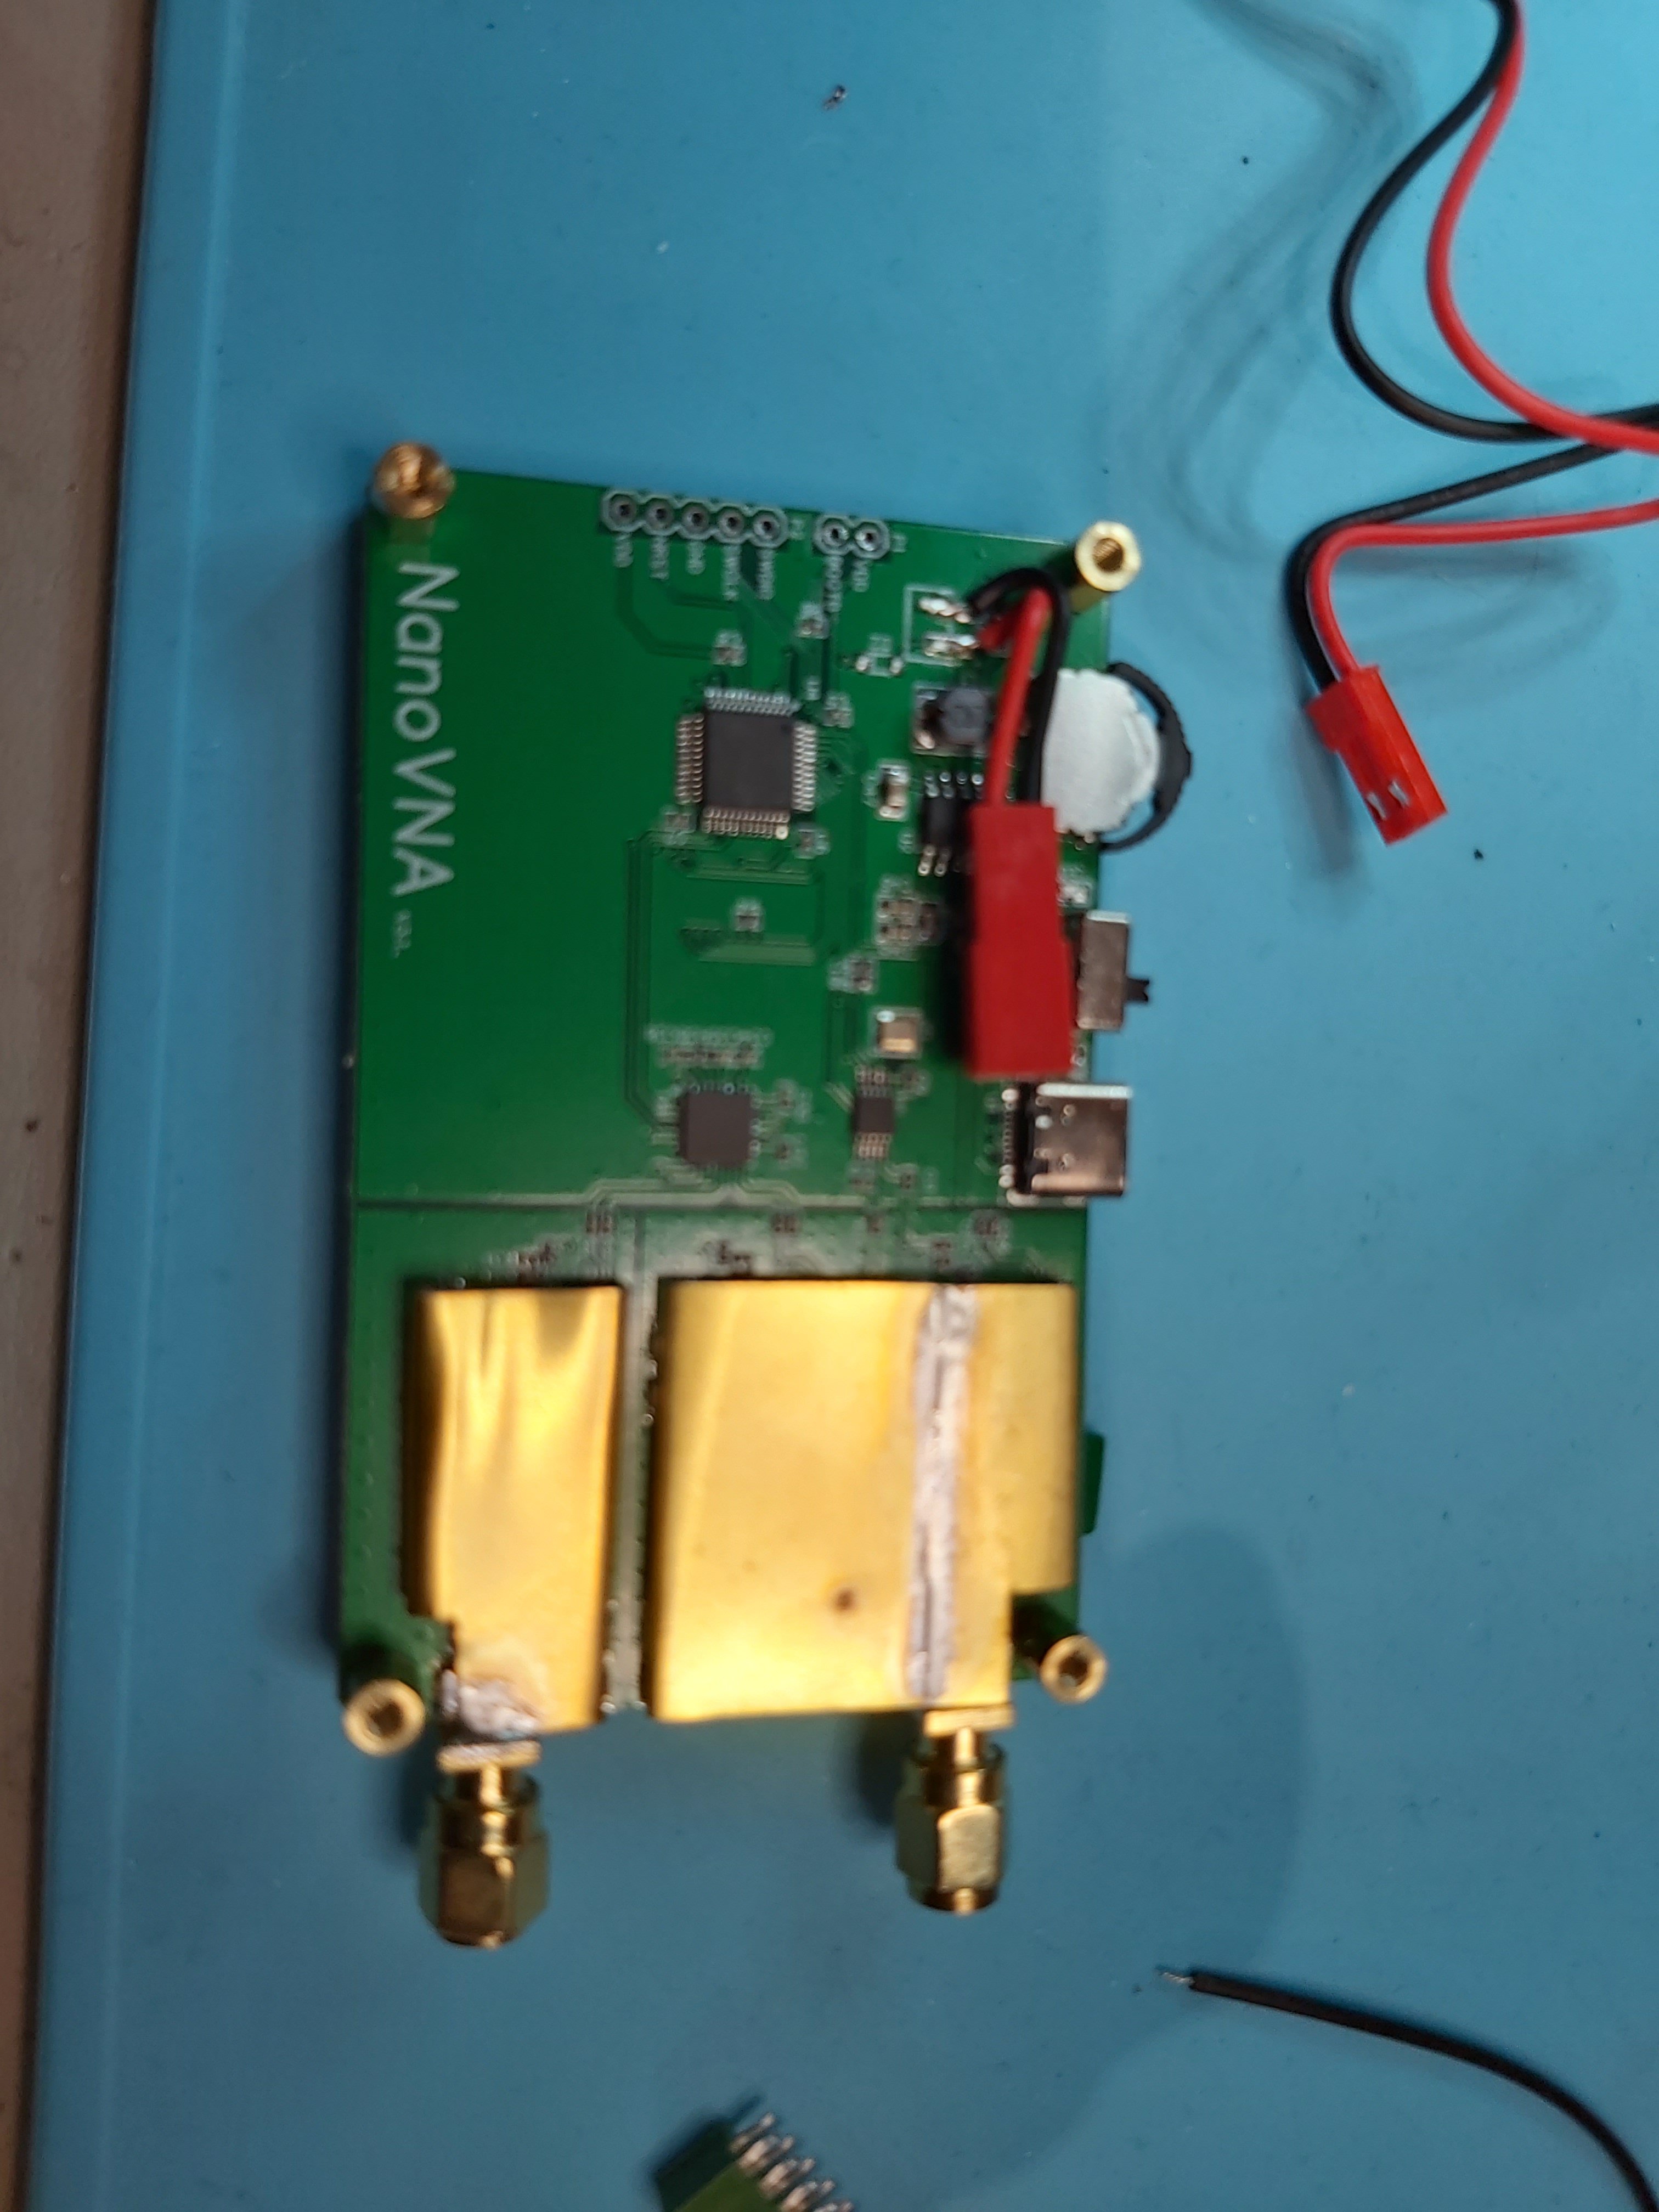
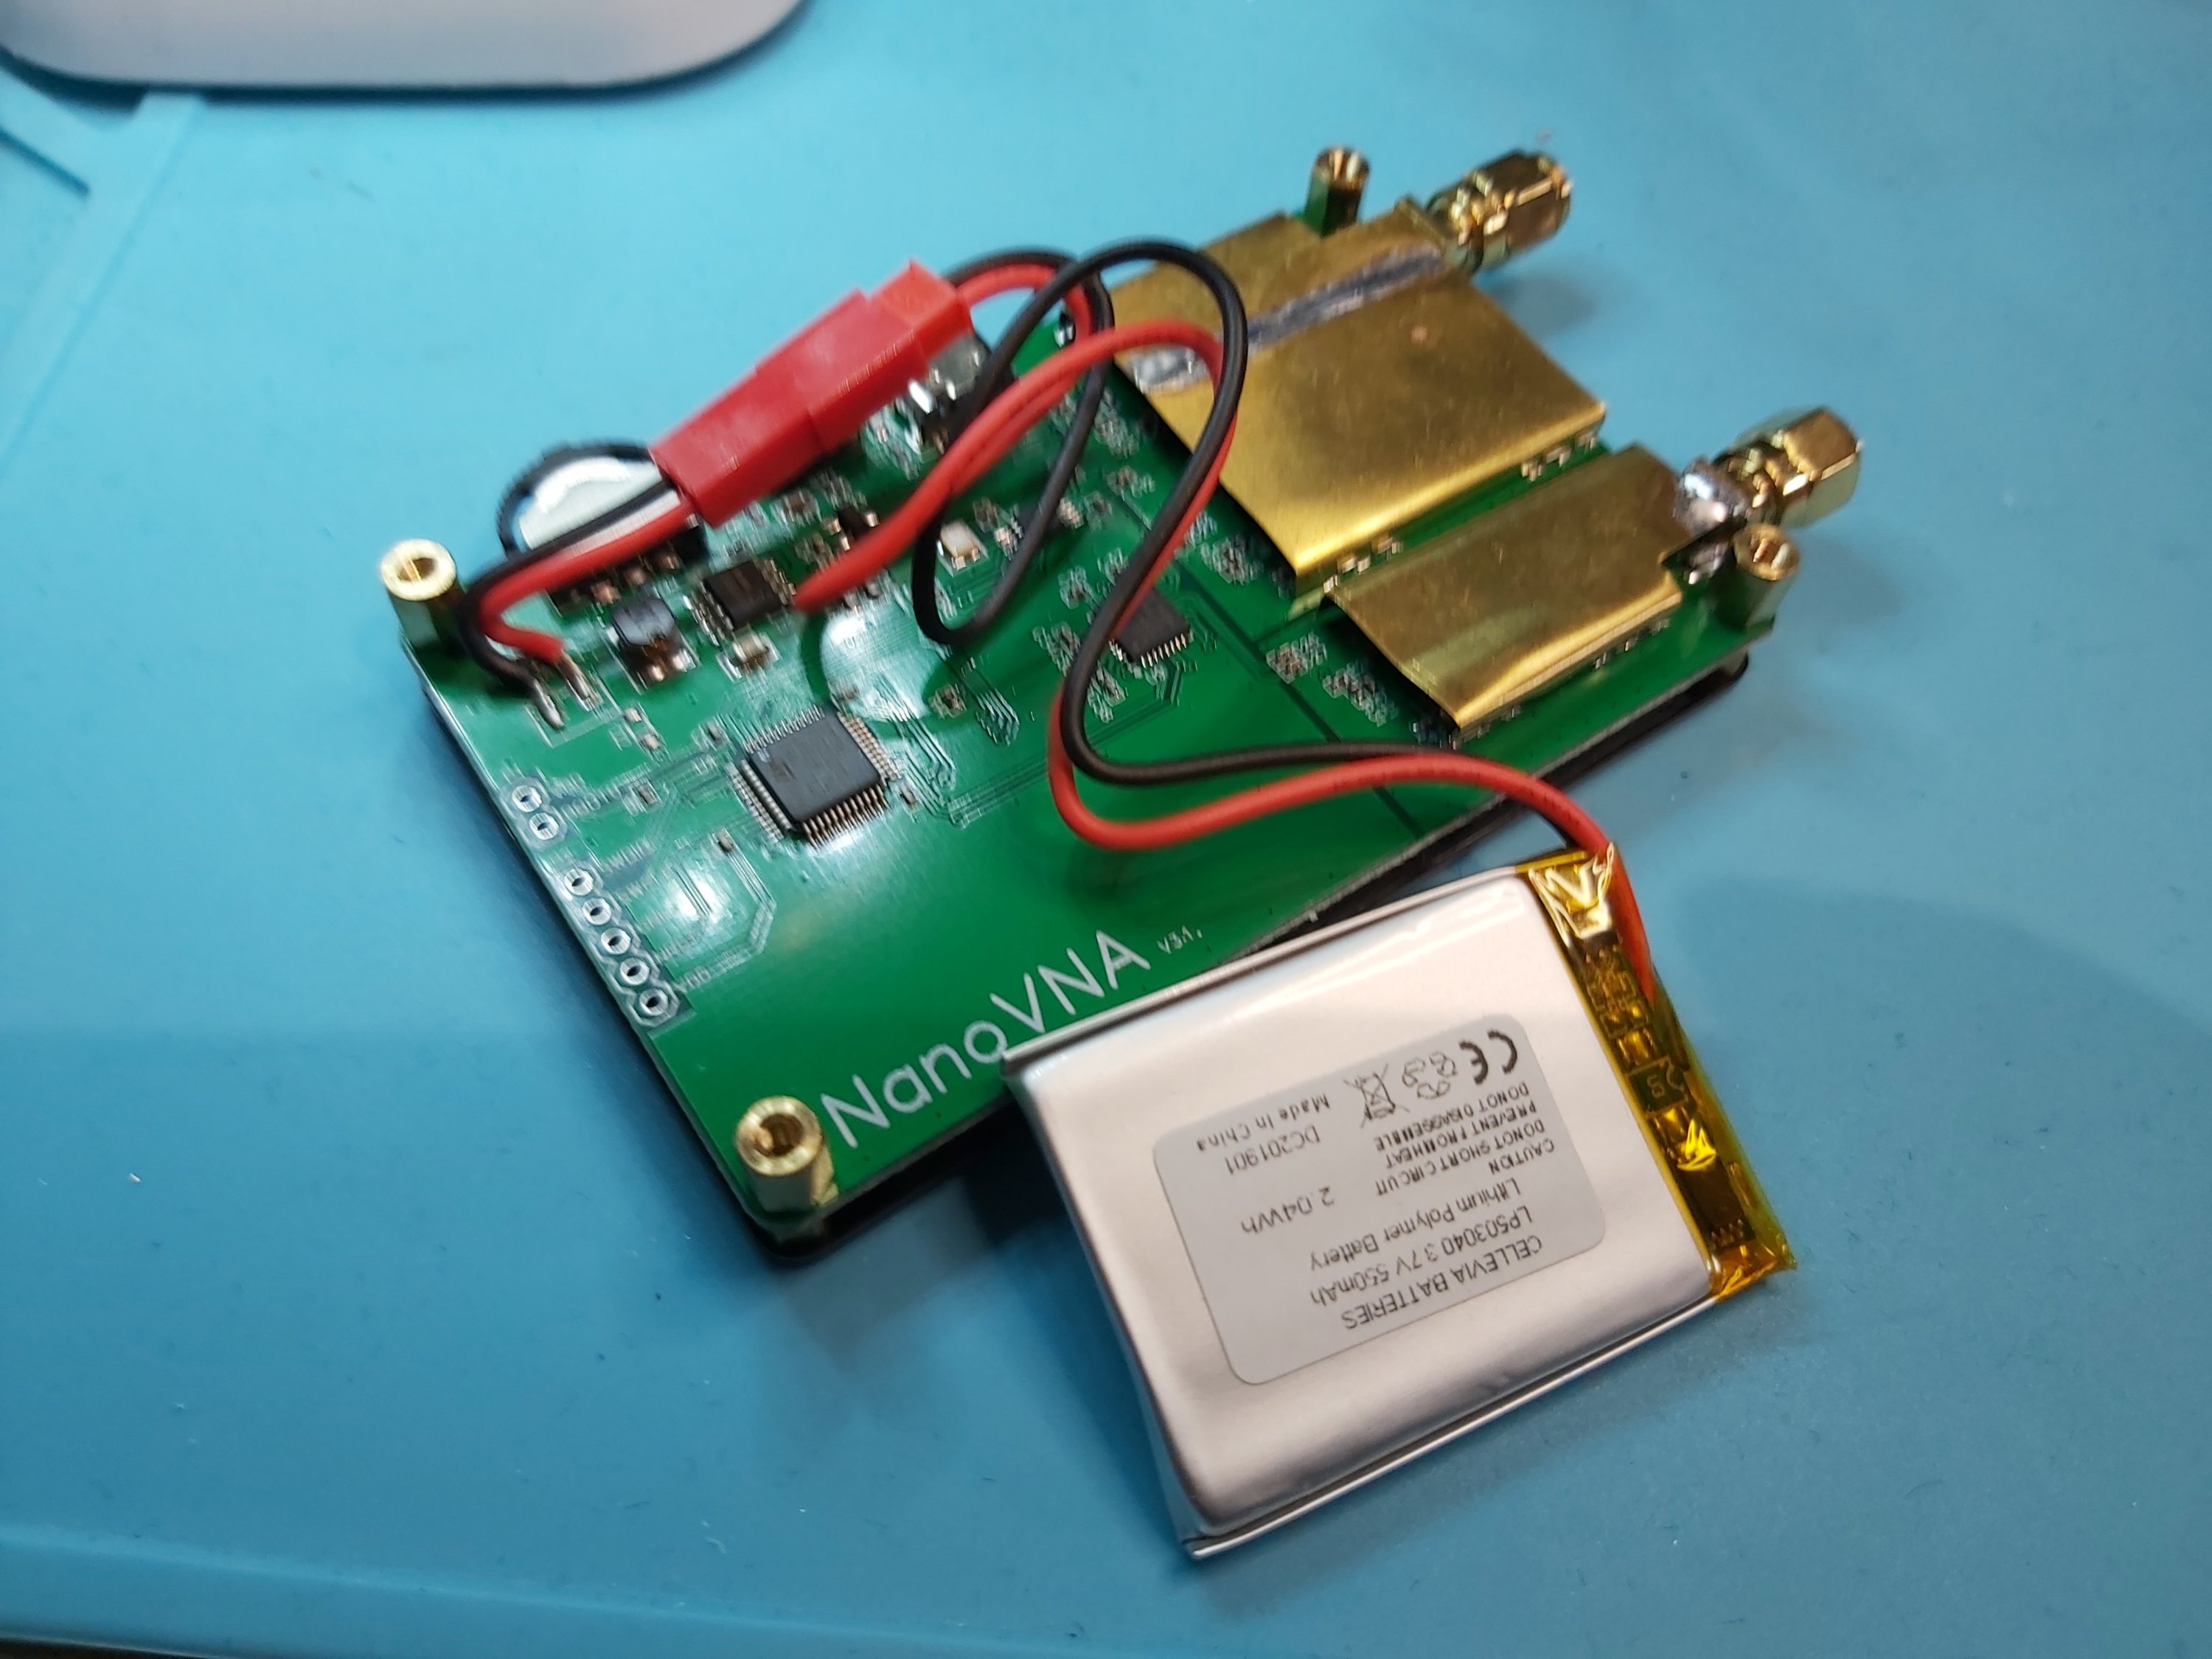
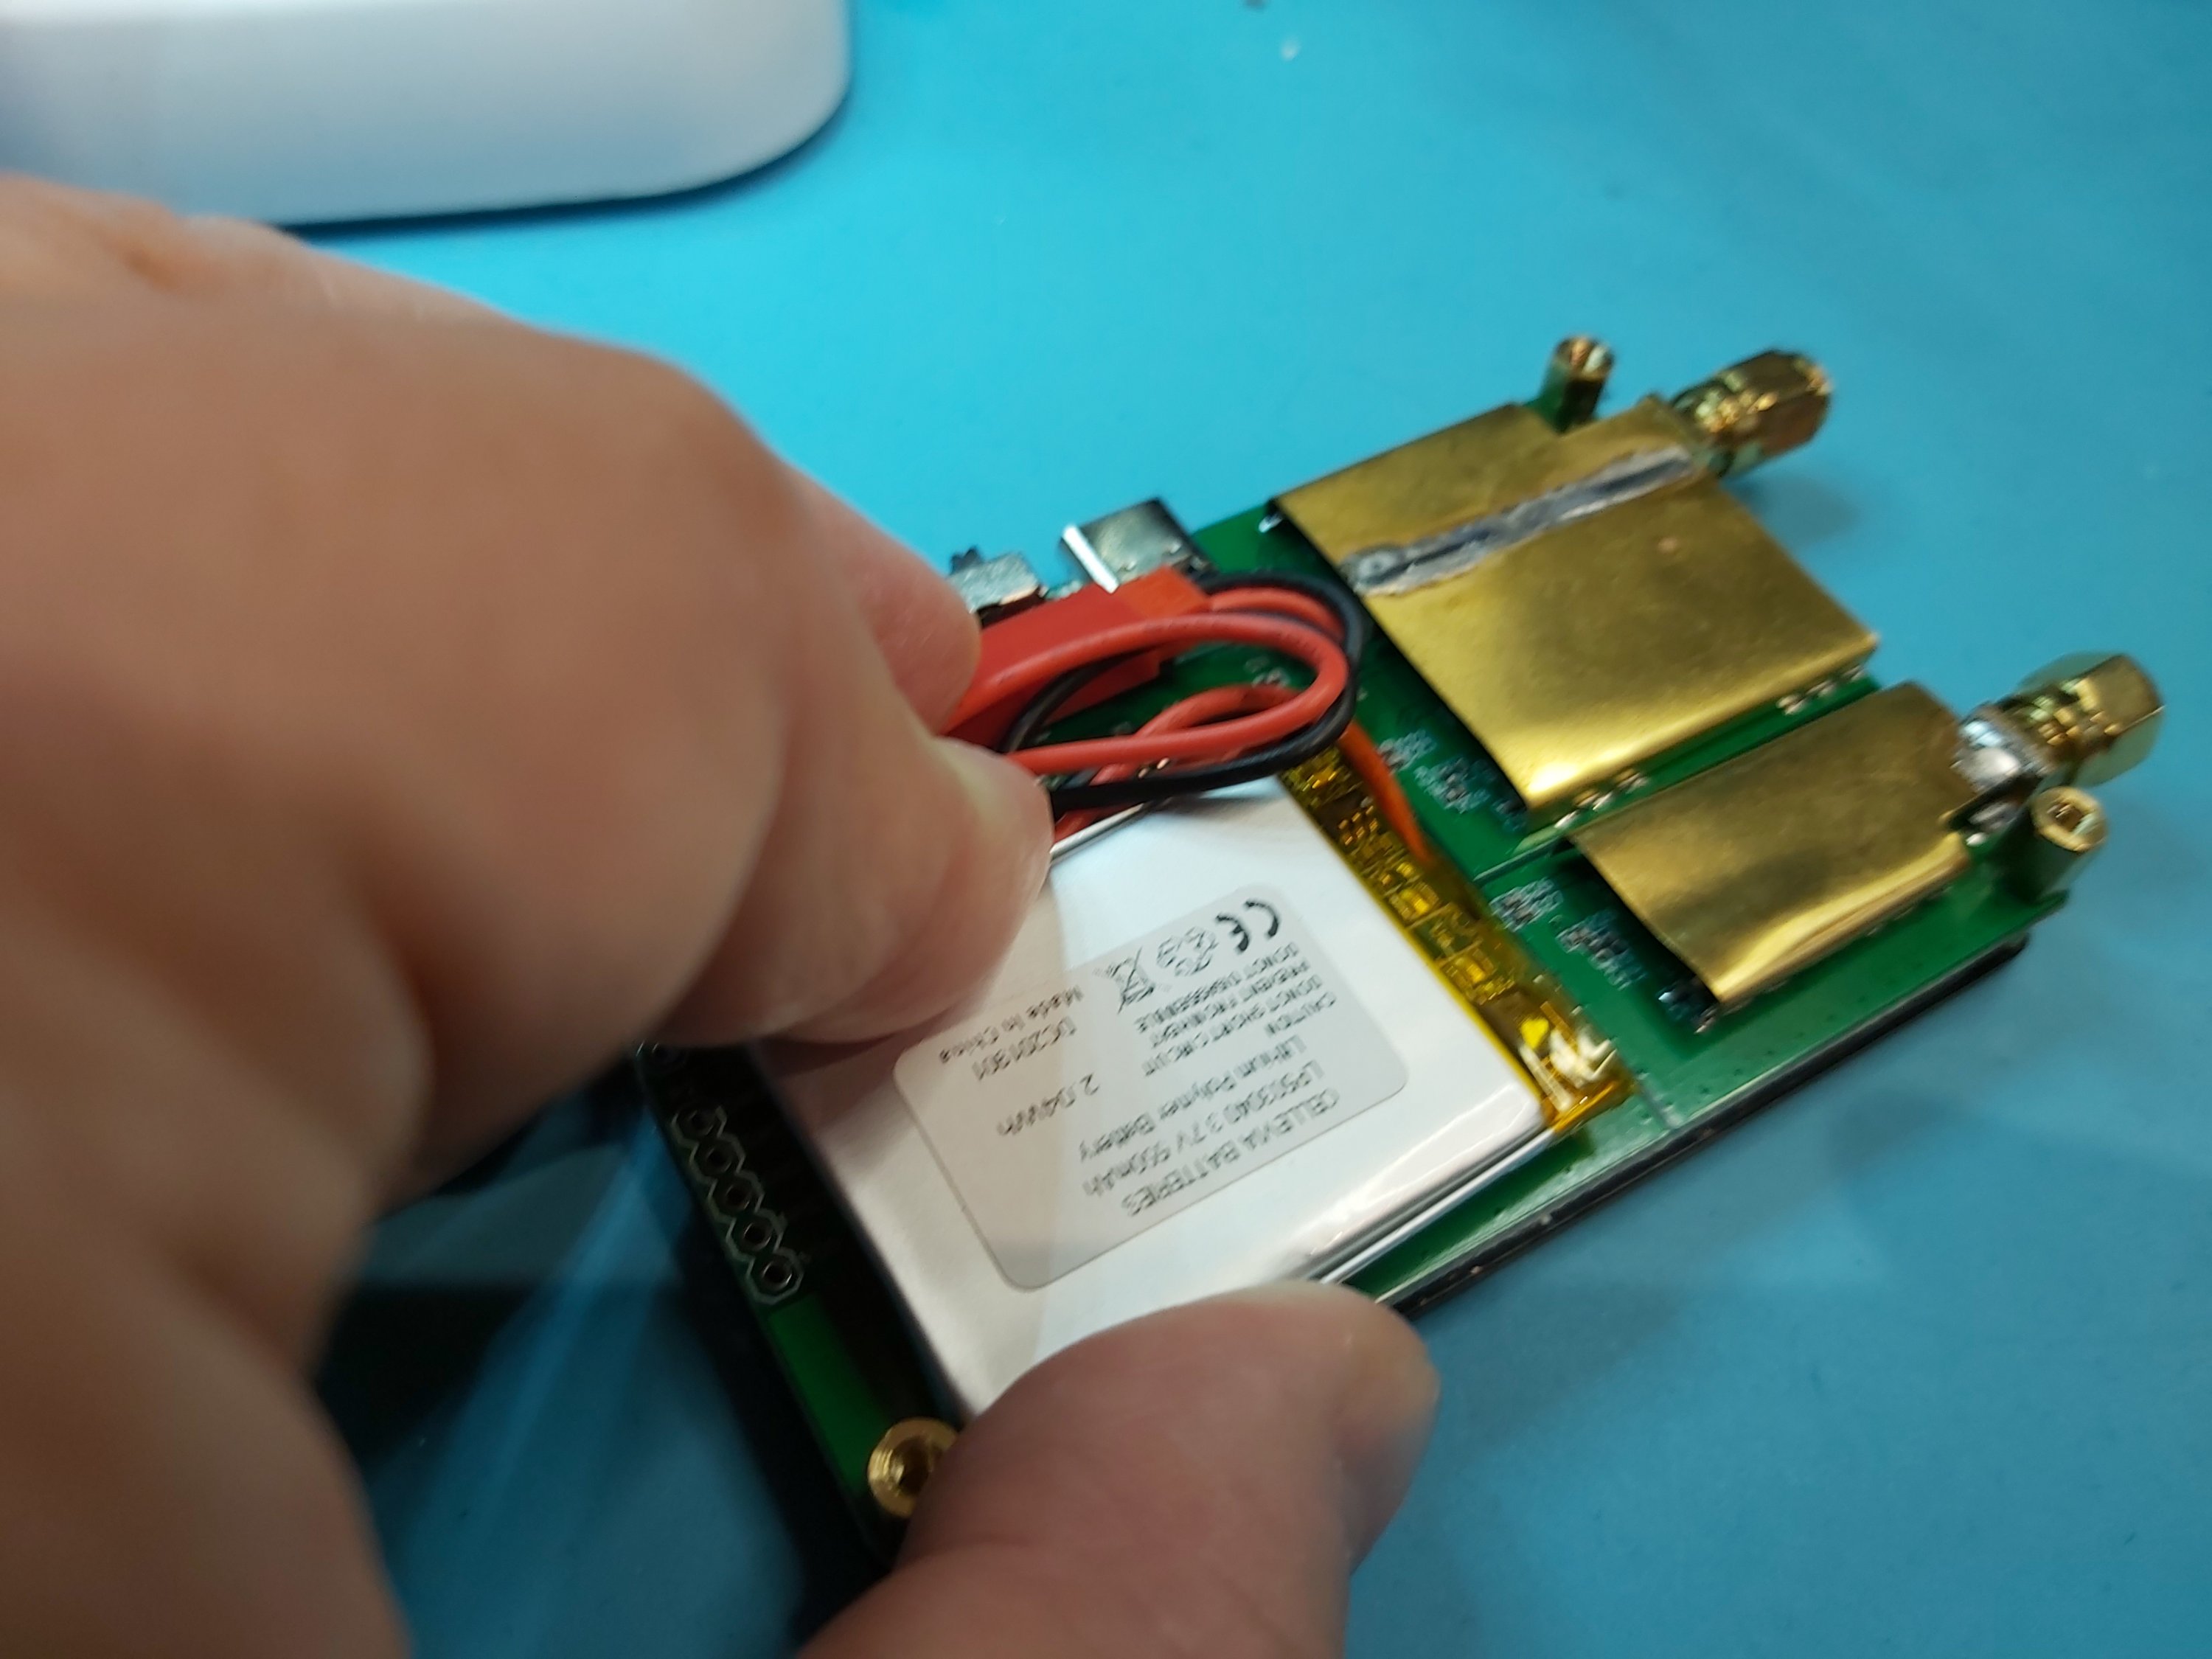
Everything fits nicely. The final step is securing the battery in place with dual side tape.
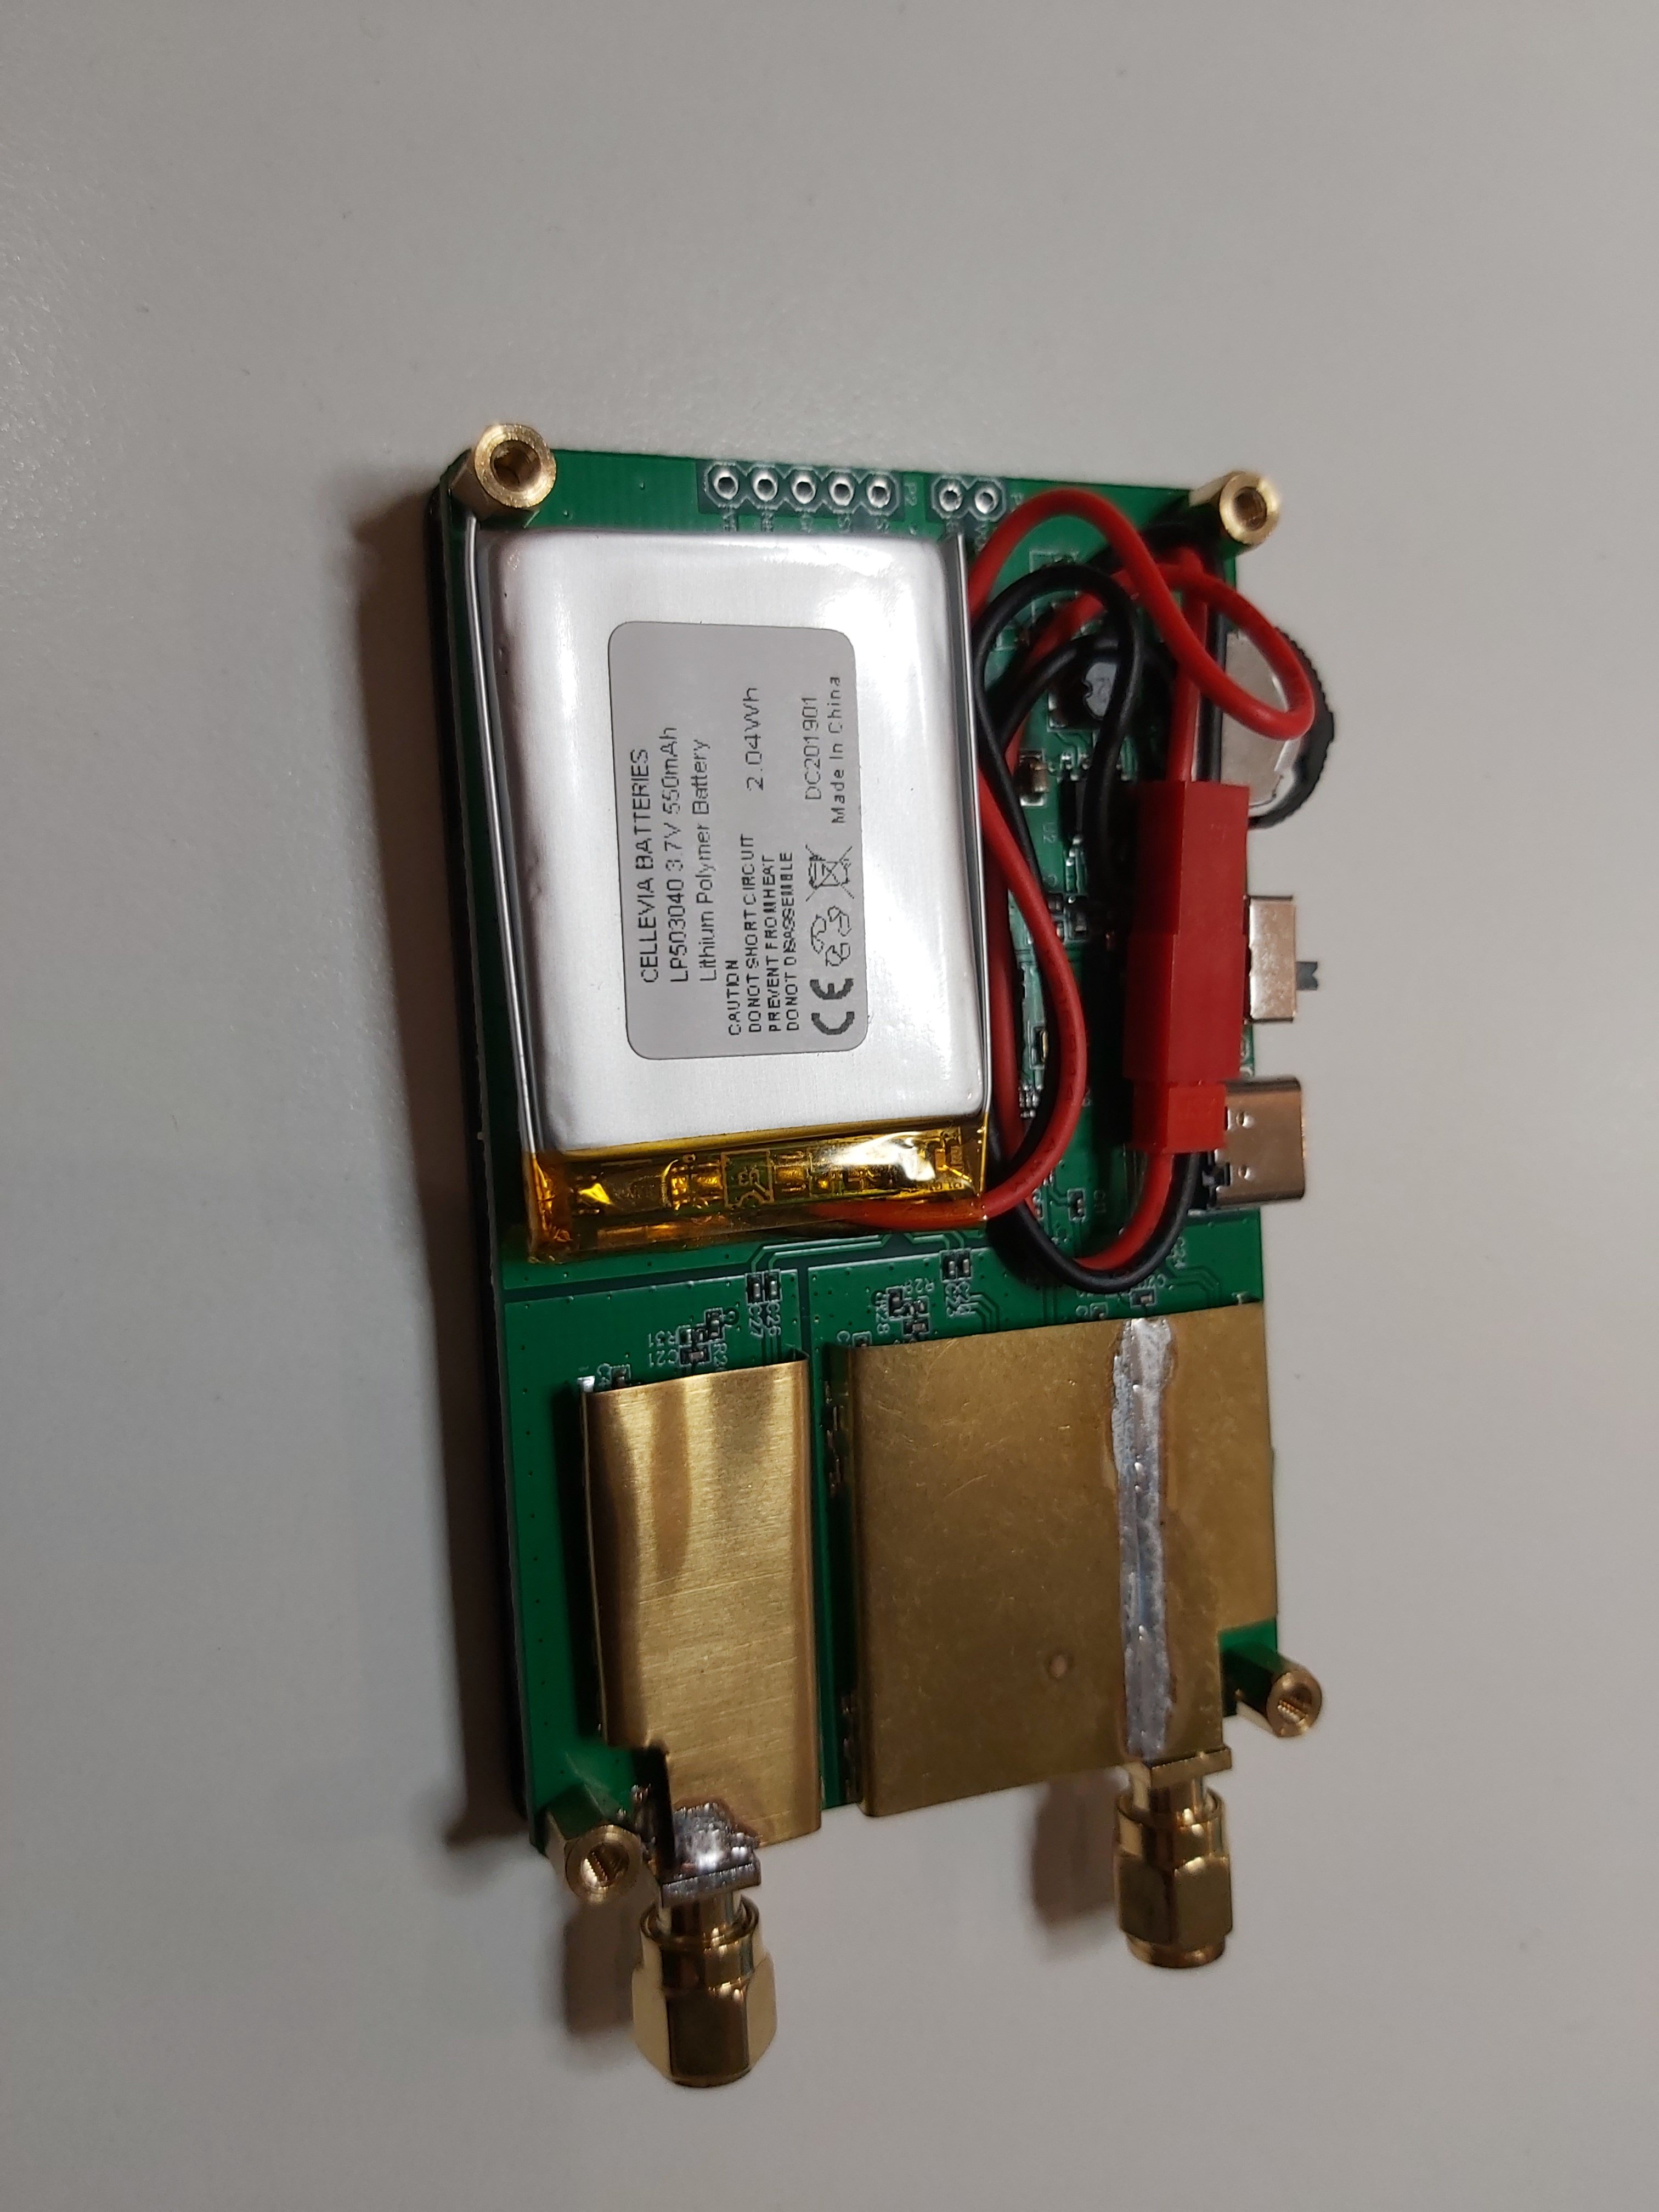
Not everything is ready to close the bottom metal lid.
I did some testing, and the battery seems to charge well when charger is connected and the device is in “off” position. The LED near switch flashes telling that charging works. The device seems to take around 800 mA current when it charging. I charged the battery for some time and charging worked fine (no heating up of battery or other potentially more explosive problems). After charging the device worked well from battery power and external power source as needed.
2 Comments
Tomi Engdahl says:
December 10, 2020
BATTERY REPLACEMENT NANOVNA-H
https://it9ybg.blogspot.com/2020/12/battery-replacement-nanovna.html?m=1
Tomi Engdahl says:
nanoVNA case with rf wire compartment
https://www.thingiverse.com/thing:4862469