I had one Elisa viihde base WLAN station + ADSL modem that was unreliable. I had earlier done tear-down of it that I posted to this blog.
Now it is time to try to fix it, because it was making whining noise and was a bit unreliable as WLAN base station.
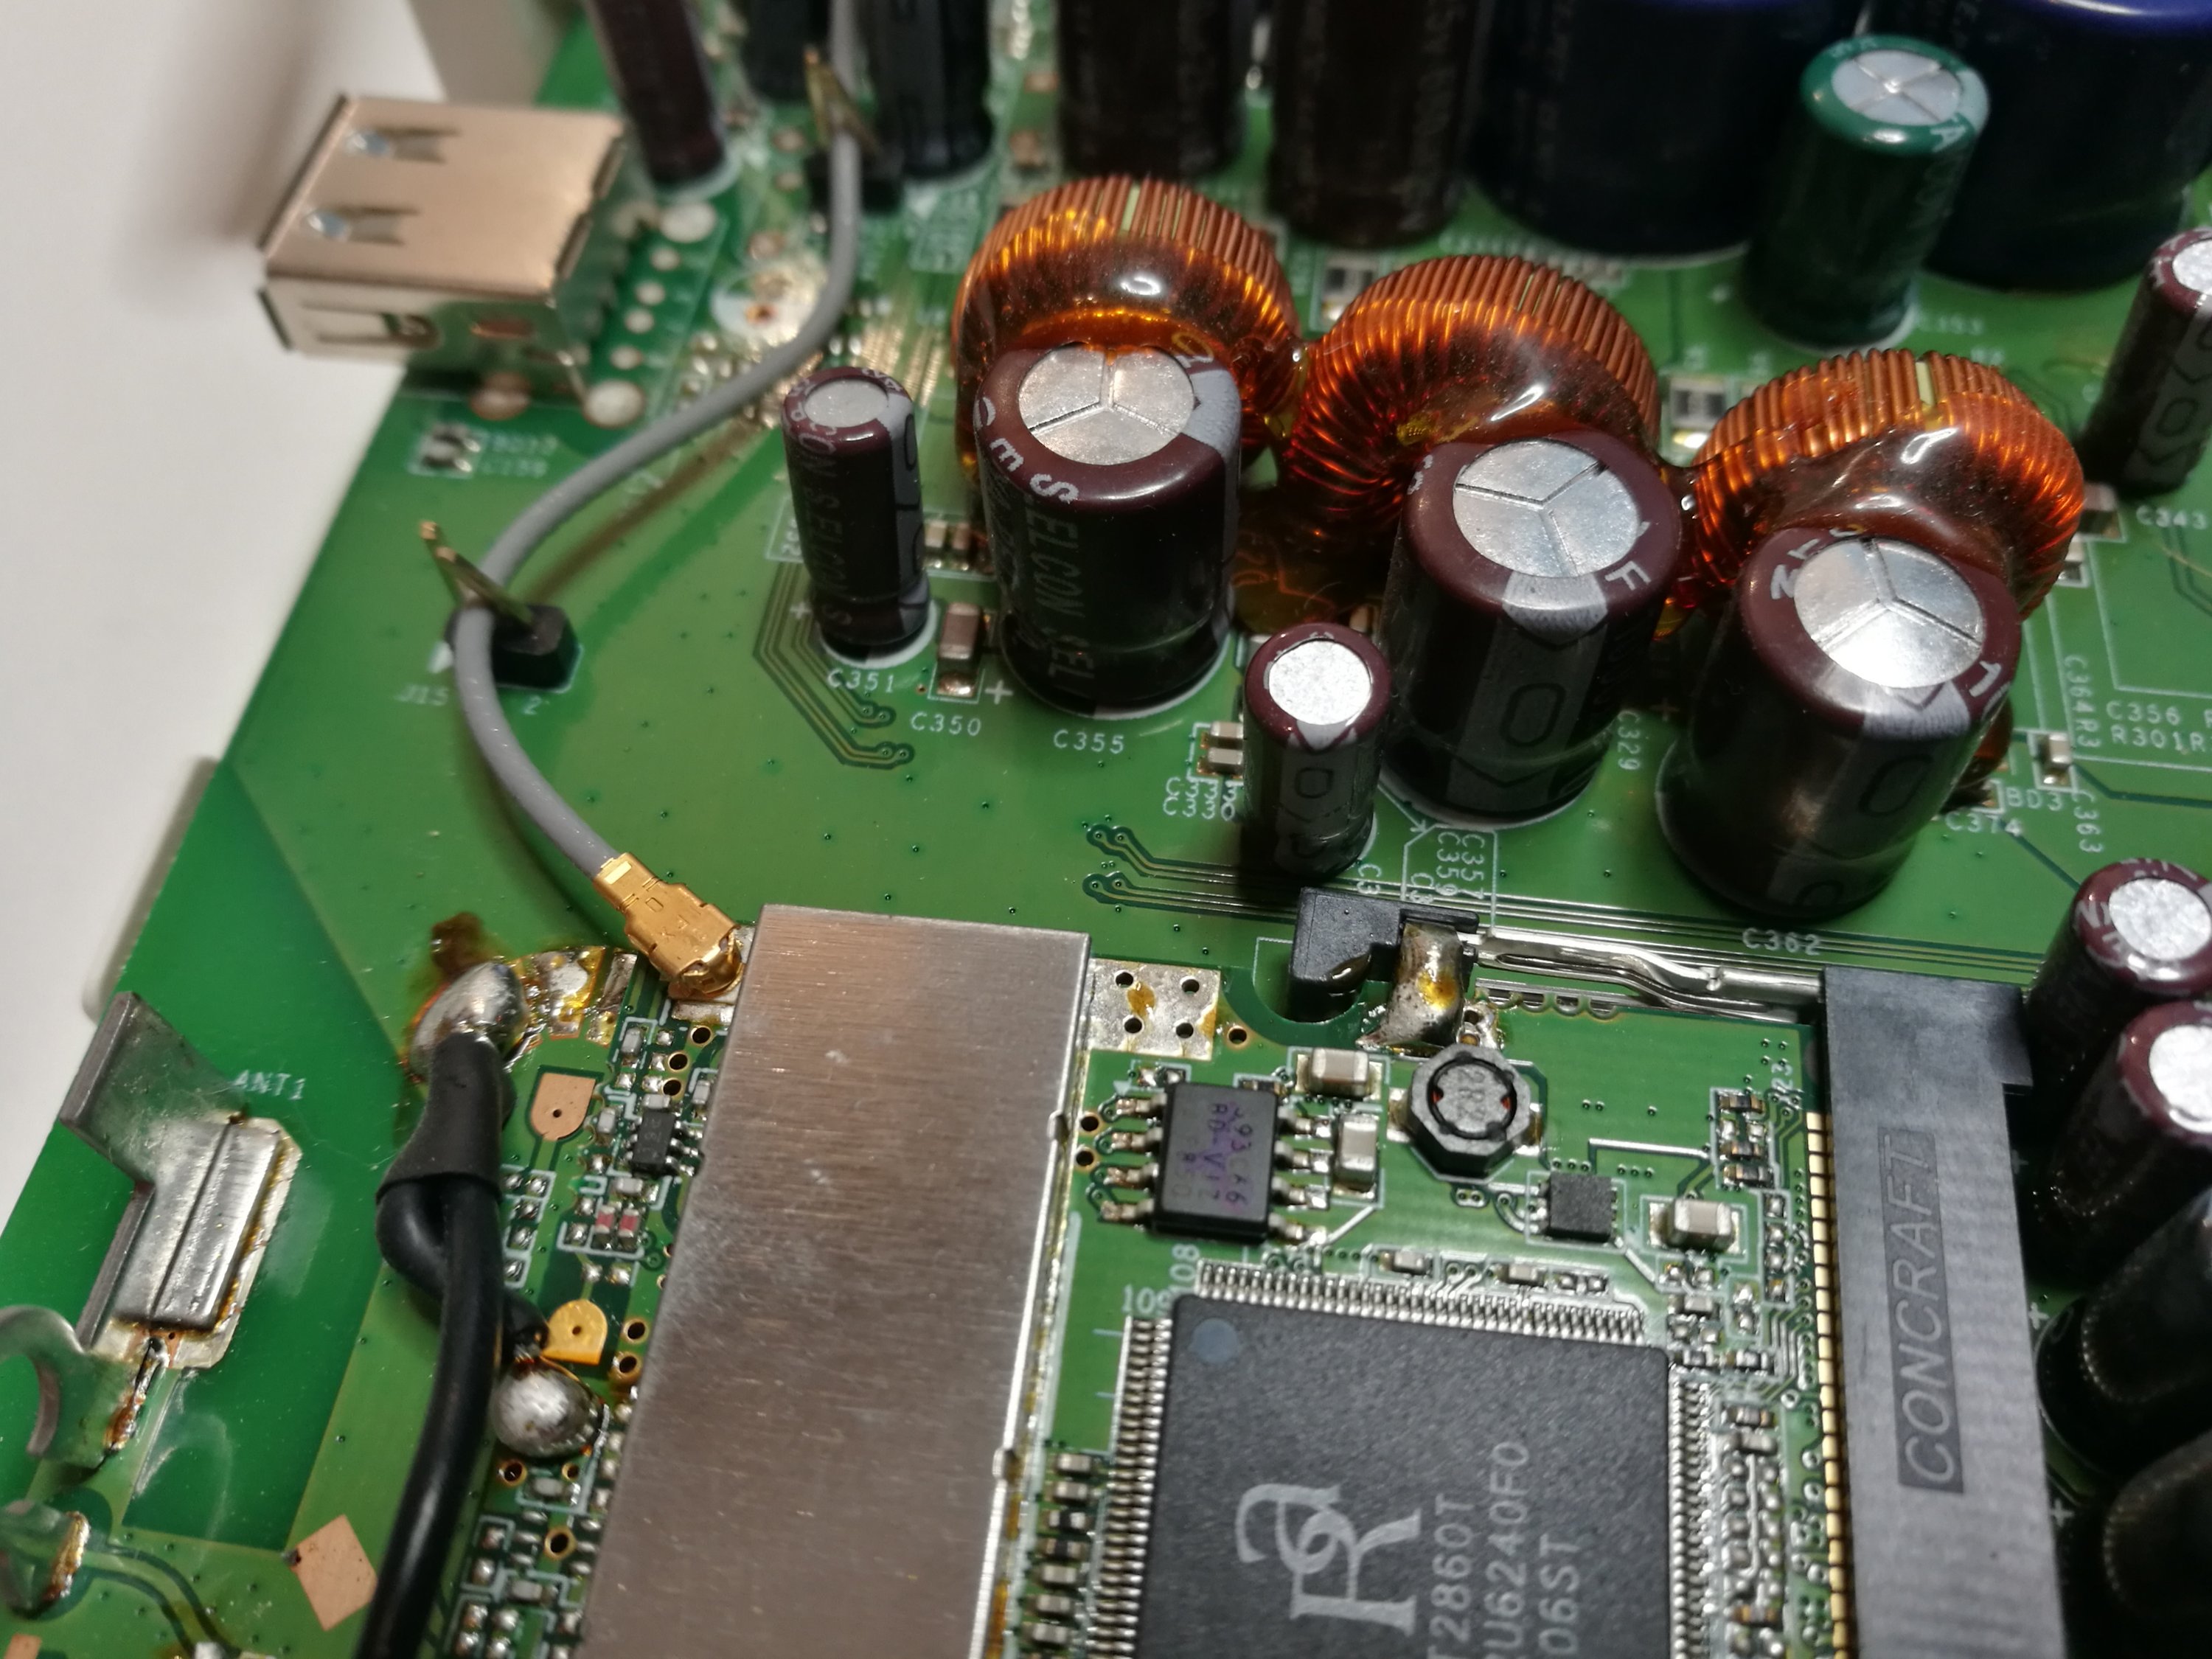
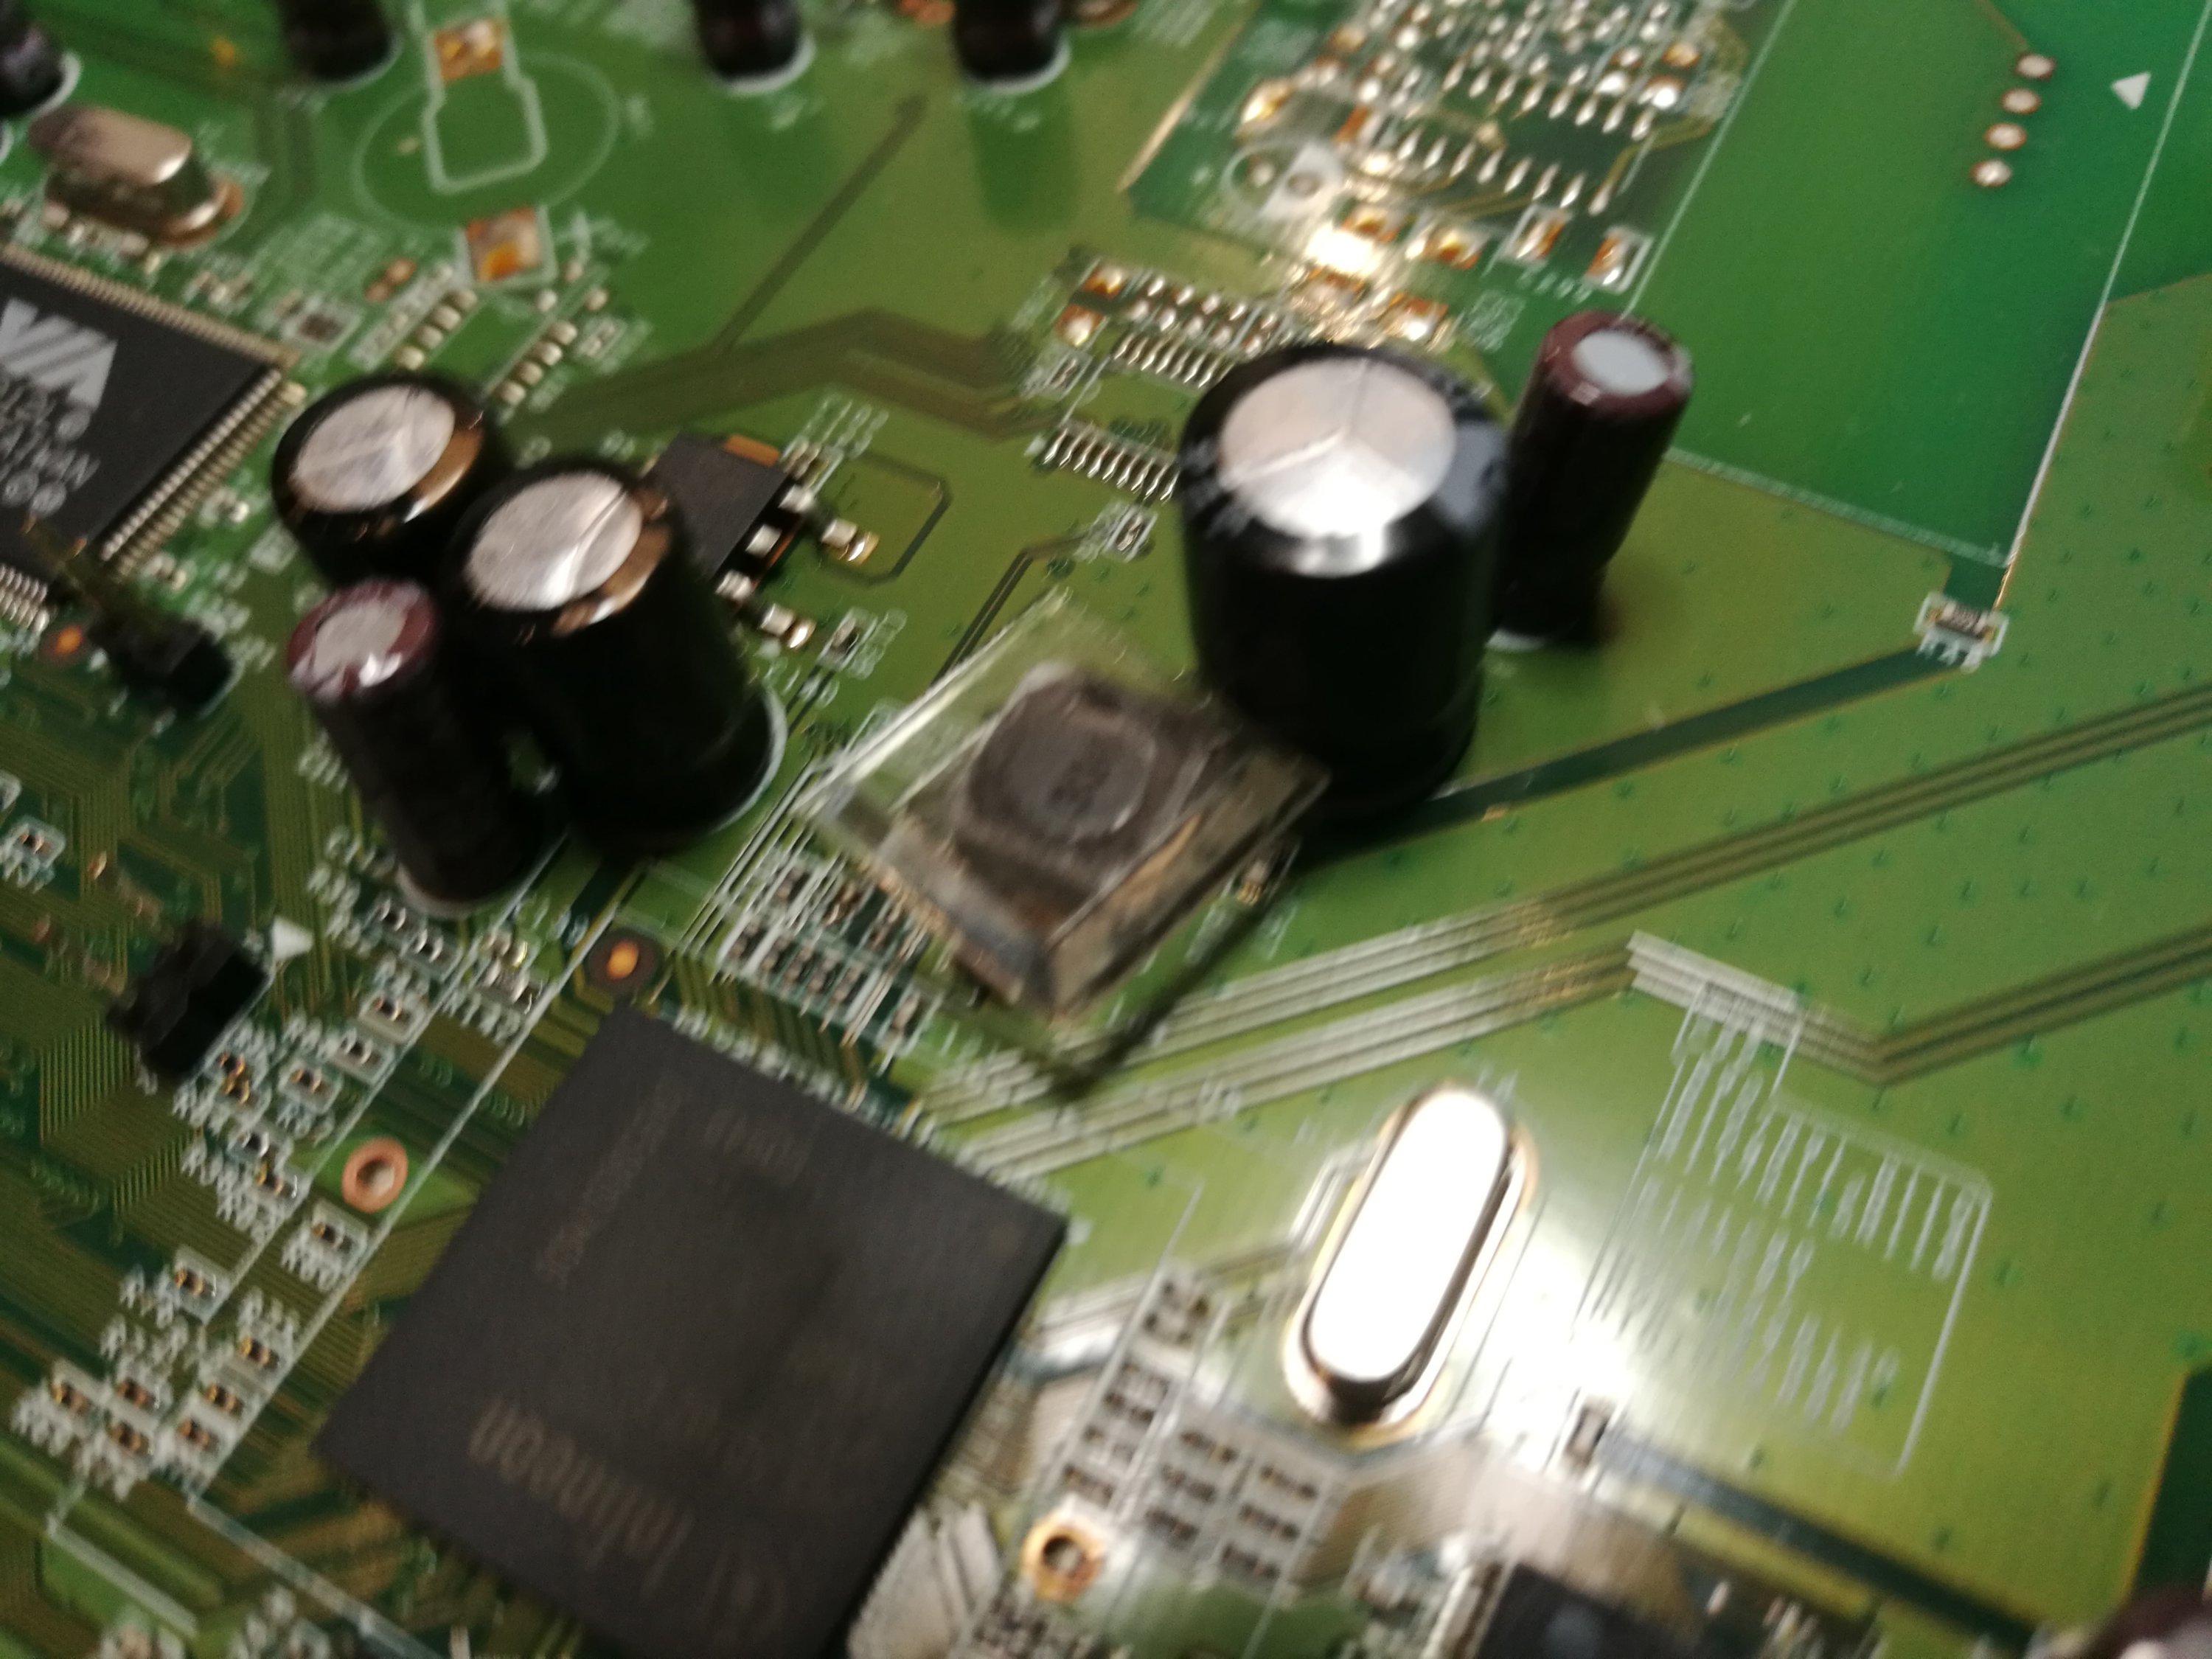
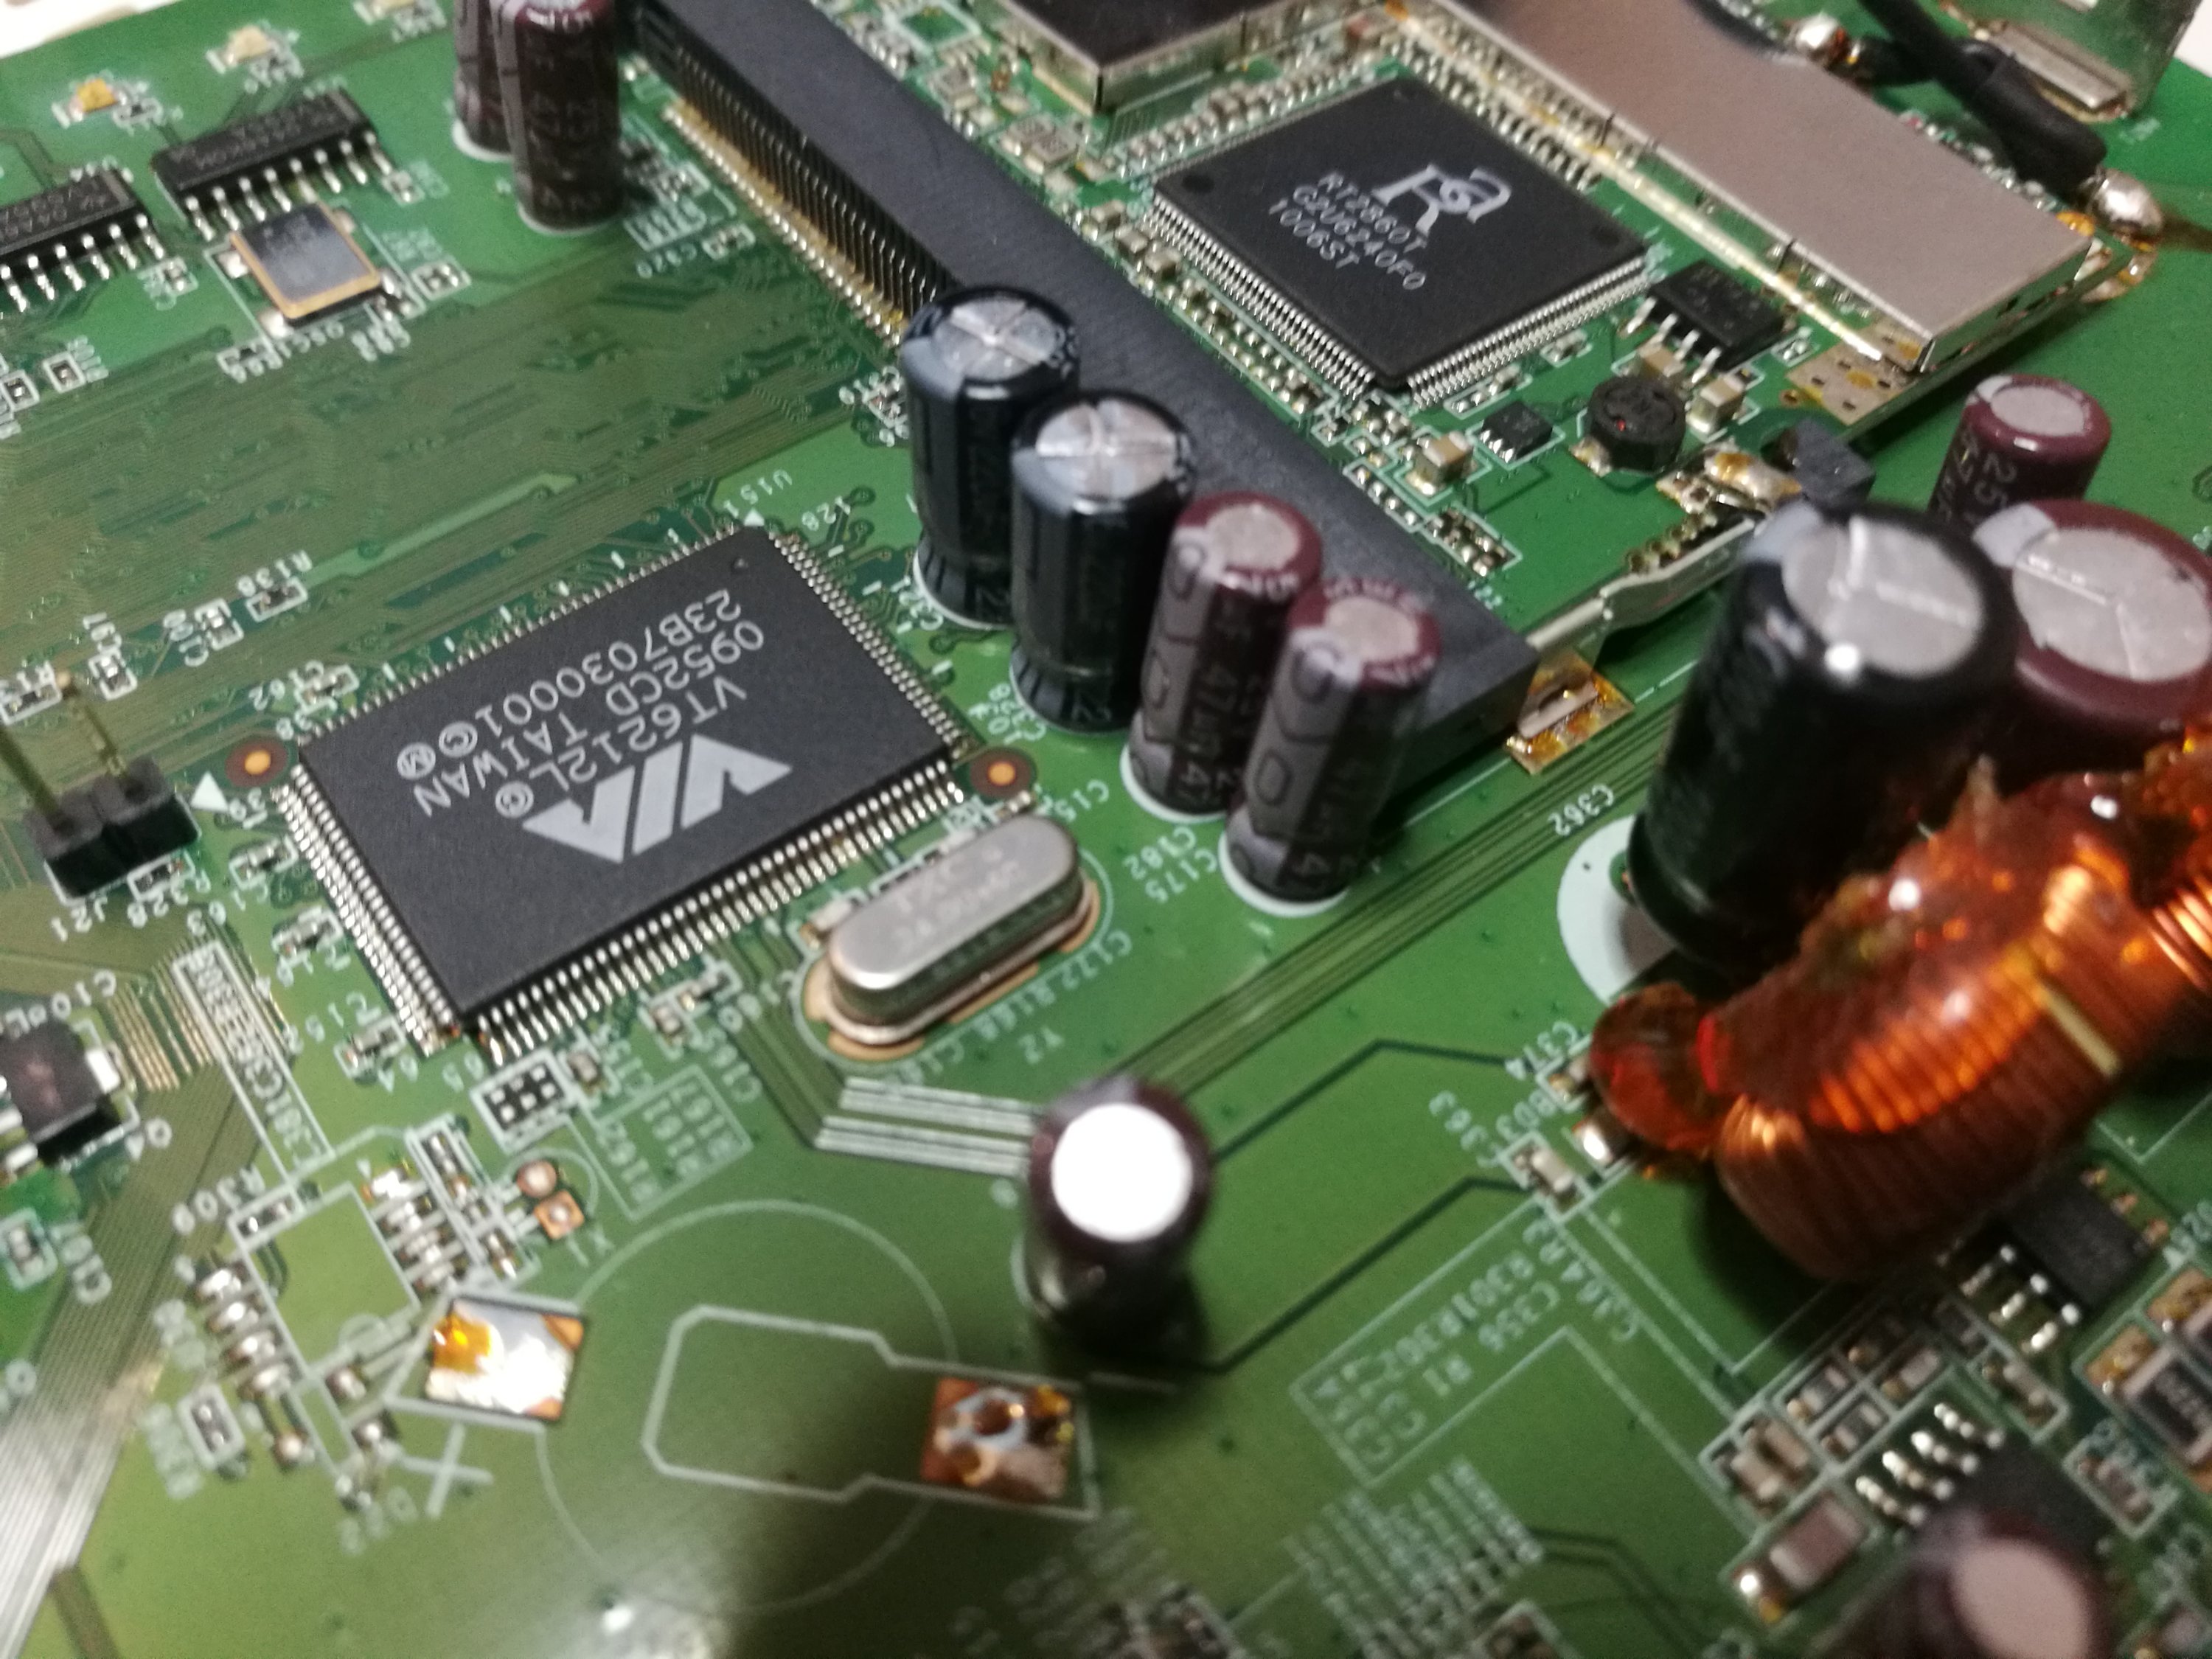
So it looks like it is time to fix by replacing bad looking electrolytic capacitors because they have limited lifetime and because most common reasons that modern digital electronics devices fail seem to be a bad electrolytic capacitors. You should be able to spot the bad capacitors quite easily from those pictures.
Now they are fixed. The capacitors were replaced with good quality low ESR electrolytic capacitors that have the same capacitance and voltage rating as the original one and also mechanically fit to their place on the circuit board.
Now it works and makes no noise. So the fix seems to work.
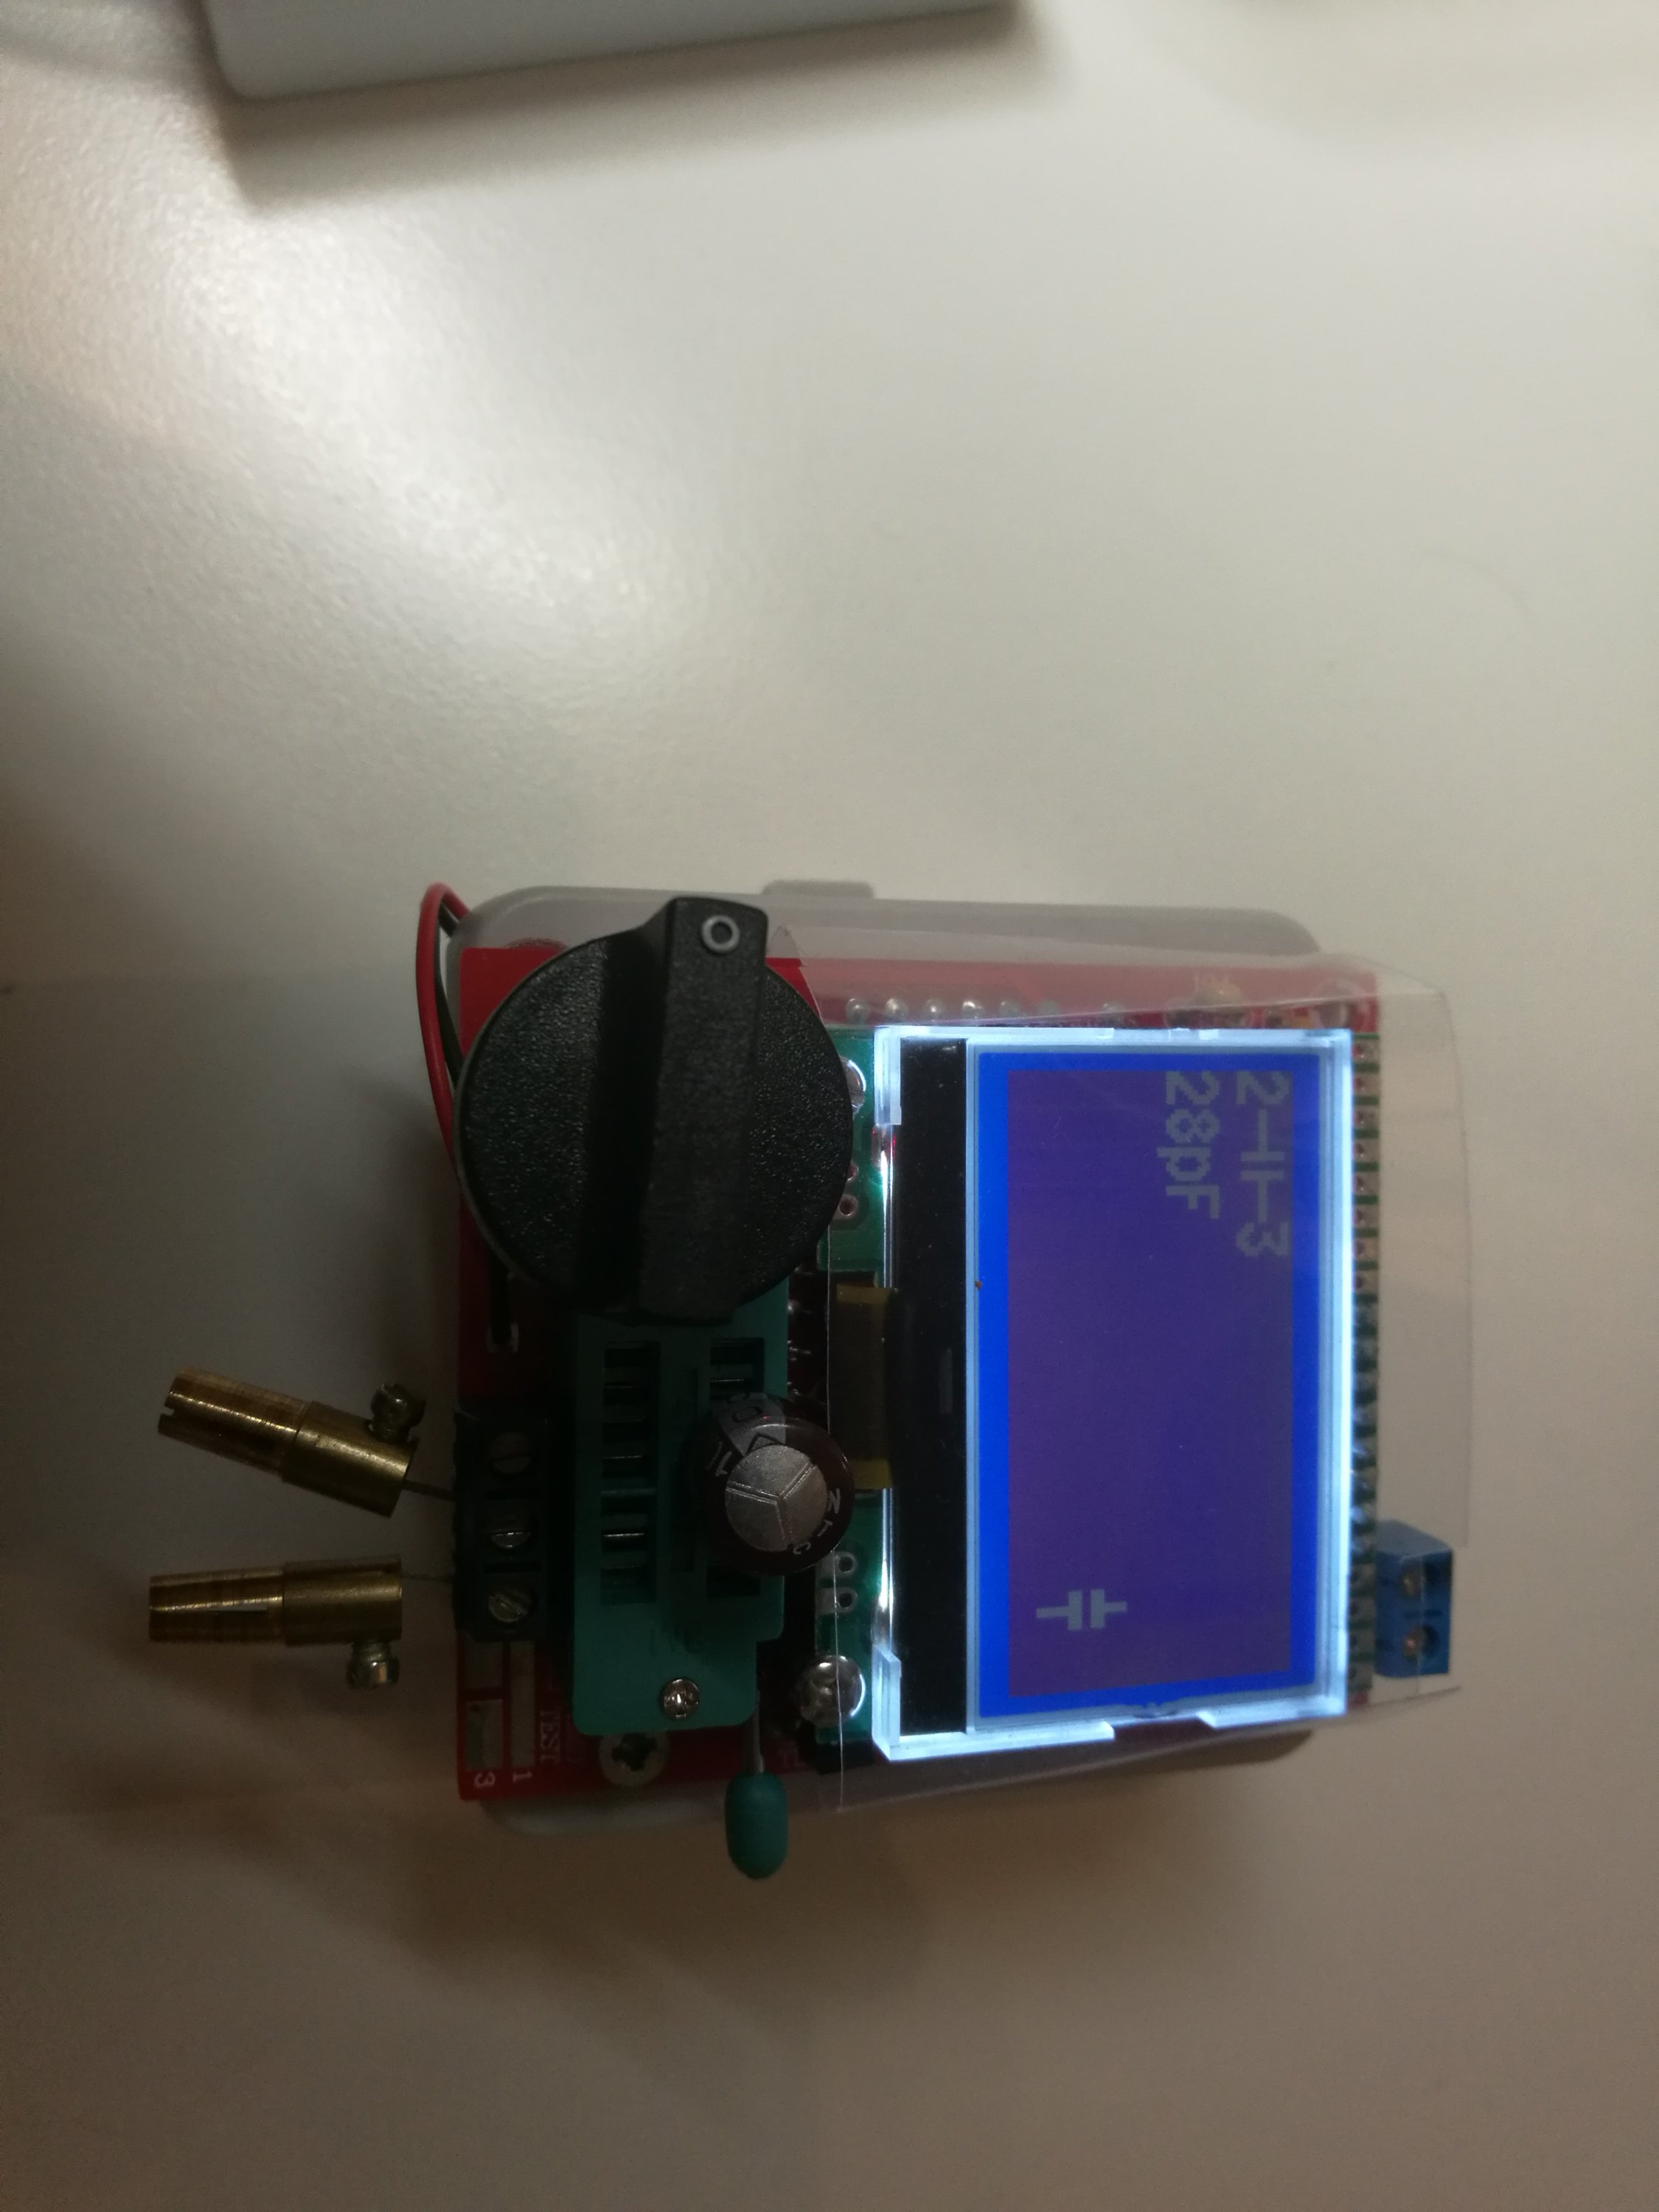
Let’s test capacitors with two component testers M168 and M12864 to see in how bad shape those capacitors really were.
Results 470 uF 25 v capacitor was quire bad. The capacitance had dropped to around half of the original value, which is not good. What could be even worse, that the ESR was so high that is is pretty much useless as power supply filtering capacitor. No wonder there were problems.

Then results from 1000 uF 10V capacitor were quite different when measured with two different tester. Based on those it seems that this capacitor was completely useless as power supply filtering capacitor.
Other meter

20 Comments
Tomi Engdahl says:
https://hackaday.com/2020/07/01/unrolling-the-mystery-inside-an-aluminum-electrolytic-capacitor/
Tomi Engdahl says:
Six Common Mistakes Made When Recapping Vintage Electronics
https://www.youtube.com/watch?v=BeDKwi-GJRI
Short little video on common mistakes seen when recapping (replacing capacitors) vintage electronics. This would include vintage stereos, radios, equipment, CBs, ham radio receivers & transmitters, calculators, computers, you name it.
Hopefully this will provide you some tips and hints to use when you go to recap your piece of vintage gear.
Topics include:
- Mistaking Factory Glue for Leaking Capacitors
- Factory Boards and Manuals Marked Wrong
- Capacitors Installed Incorrectly
- Using Larger Capacitors Than Specified
- Buying Electrolytic Capacitors off Ebay
- Replacing Everything at Once
Tomi Engdahl says:
Replacing capacitors in vintage equipment
https://www.youtube.com/watch?v=a01egKzQCa8
After 20 years of faithful service, this viewer wants to know if he should replace the capacitors in his equipment and what to look for in new ones. Paul gives us some insights into when it’s a good time to switch and what to replace them with.
Tomi Engdahl says:
Exploding Capacitor With And Without Safety Vent | Experiment
https://m.youtube.com/watch?v=AmIQ8TM4_u8&feature=youtu.be
Tomi Engdahl says:
https://www.edn.com/would-better-electrolytic-capacitors-reduce-e-waste/?utm_content=buffer81068&utm_medium=social&utm_source=edn_facebook&utm_campaign=buffer
Tomi Engdahl says:
Fixing a dead digital thermostat
https://www.youtube.com/watch?v=KU5fNfVXpGM
Checking out a faulty thermostat sent by Roger for our exploration.
For simple power faults like this one has it does actually make sense to do repairs.
With very predictable failure modes these days you don’t need much electronics knowledge or experience to attempt a repair. A really common failure mode of compact switch mode power supplies is the capacitor on the low voltage side. That’s because the very high frequency it operates at results in an amplified electrical stress. When the capacitor starts to fail its impedance increases and that causes an avalanche effect with the gassing of the electrolyte causing a buildup of pressure that domes the top of the capacitor and forces the electrolyte out through either the rubber seal at the base or the domed end (which is designed to rupture) as vapour.
The main thing to note is that you must use a low ESR (Low Equivalent Series Resistance) capacitor to deal with the high frequency operation, it should be the same capacitance value and a voltage equal to or greater than the original, and you must ensure it gets put in with the correct polarity.
A full replacement thermostat would have cost around £55 while the replacement capacitor was available as a pack of five for £1.
„So let’s recap quickly…“ seems to be the motto of these years.
Tomi Engdahl says:
Exploding electrolytic capacitors
https://youtu.be/3b7mjukhTyQ
Tomi Engdahl says:
Six Common Mistakes Made When Recapping Vintage Electronics
https://www.youtube.com/watch?v=BeDKwi-GJRI
Short little video on common mistakes seen when recapping (replacing capacitors) vintage electronics. This would include vintage stereos, radios, equipment, CBs, ham radio receivers & transmitters, calculators, computers, you name it.
Hopefully this will provide you some tips and hints to use when you go to recap your piece of vintage gear.
Topics include:
- Mistaking Factory Glue for Leaking Capacitors
- Factory Boards and Manuals Marked Wrong
- Capacitors Installed Incorrectly
- Using Larger Capacitors Than Specified
- Buying Electrolytic Capacitors off Ebay
- Replacing Everything at Once
Tomi Engdahl says:
https://www.facebook.com/groups/ElectronicParts/permalink/2178779945644662/
Hy guys iwant know that I can replace 1500uf 2.5v with 1500uf 6.3v
As long as the capacitor rated voltage is bigger than what’s on the circuit, you should be fine
In general yes, but you should locate the data sheet for the original capacitor and then make sure that your replacement has equal or lower ESR and equal or higher ripple current rating.
Tomi Engdahl says:
Easy Electrolytic Capacitor Replacement & Testing Methods
https://www.youtube.com/watch?v=Y7v0167aYW4
Electrolytic capacitor replacement (recapping) is one of the most common repairs on today’s electronics. It’s also among the easiest electronic repairs most DIY’ers will have no problem successfully taking on.
All you need is a soldering iron, a little soldering & desoldering skill and of course the correct value replacement capacitor/s.
Failed electrolytic caps are so common place, you can literally save hundreds of dollars in replacement electronic device costs, while keeping them out of the landfill &/or electronic recycling facility.
I’ll show you how to visually spot a bad capacitor and in most cases, a visual inspection is all that’s needed to identify a bad electrolytic cap. I’ll also go over the values you need to know for your replacement caps, observing electrolytic capacitor polarity, and of course the actual capacitor removal and replacement process.
For those DIY’ers that have more testing equipment, I’ll also show my simple capacitor testing methods when they show no visible sign’s of damage. You don’t need this stuff of course to replace a bad cap, it’s just a little extra info for those that want to give it a go.
Video Time Chapters:
0:00 Howdy Folks
1:42 Identifying bad electrolytic caps
3:20 Removing capacitors
4:36 Replacing capacitors
6:59 Confirming repair
8:48 Electrolytic cap testing methods
Tomi Engdahl says:
Replacing Electrolytic Capacitors
https://www.youtube.com/watch?v=iPCAYOz80Xw
This video illustrates a method of “recapping”–removing and replacing electrolytic capacitors on a circuit board.
Failing capacitors can cause a computer or electronic device to malfunction.
Capacitor Replacement Tutorial
https://www.youtube.com/watch?v=YCSNWi3UHf4
Capacitance, voltage ratings and polarity are explained. You can replace faulty caps on your circuit board and bring your electronics back to life!
Tomi Engdahl says:
Which Capacitor Tester Should I Buy?
https://www.youtube.com/watch?v=lLQThhf3Brc
Tomi Engdahl says:
Recapping Tutorial – how to replace old, leaky surface mount electrolytic capacitors
https://www.youtube.com/watch?v=SjgWo7mj8-w
Replacing SMD Caps the easy way.
https://www.youtube.com/watch?v=D2wQKKO1W6k
Tomi Engdahl says:
Easy Electrolytic Capacitor Replacement & Testing Methods
https://www.youtube.com/watch?v=Y7v0167aYW4&t=12s
Electrolytic capacitor replacement (recapping) is one of the most common repairs on today’s electronics. It’s also among the easiest electronic repairs most DIY’ers will have no problem successfully taking on.
All you need is a soldering iron, a little soldering & desoldering skill and of course the correct value replacement capacitor/s.
Failed electrolytic caps are so common place, you can literally save hundreds of dollars in replacement electronic device costs, while keeping them out of the landfill &/or electronic recycling facility.
I’ll show you how to visually spot a bad capacitor and in most cases, a visual inspection is all that’s needed to identify a bad electrolytic cap. I’ll also go over the values you need to know for your replacement caps, observing electrolytic capacitor polarity, and of course the actual capacitor removal and replacement process.
For those DIY’ers that have more testing equipment, I’ll also show my simple capacitor testing methods when they show no visible sign’s of damage. You don’t need this stuff of course to replace a bad cap, it’s just a little extra info for those that want to give it a go.
Video Time Chapters:
0:00 Howdy Folks
1:42 Identifying bad electrolytic caps
3:20 Removing capacitors
4:36 Replacing capacitors
6:59 Confirming repair
8:48 Electrolytic cap testing methods
Tomi Engdahl says:
ChongX Capacitor test – Aliexpress JUNK – Buyer Beware!
https://www.youtube.com/watch?v=sKyHXDBUSvQ
I picked up some cheap Chinese capacitors on http://www.aliexpress.com and decided to test their quality
Tomi Engdahl says:
Recapping: It’s the New Bloodletting
https://www.youtube.com/watch?v=VKVejMuCajk
Replacing capacitors is no substitute for repair. It is not a panacea or cure all. Reasons to recap are discussed, as well as horror stories of recaps gone bad.
Replacing Electrolytic Capacitors
https://www.youtube.com/watch?v=iPCAYOz80Xw
This video illustrates a method of “recapping”–removing and replacing electrolytic capacitors on a circuit board.
Failing capacitors can cause a computer or electronic device to malfunction.
Tomi Engdahl says:
C(r)apacitor
Tomi Engdahl says:
Korostaisin, että yhdestäkään elkosta ei voi varmuudella sanoa pelkästään ulkonäöstä, missä kunnossa se on.
1. Pullistunut konkka on suurella varmuudella ylikuumentunut niin, elektrolyyttineste on kiehunut.
2. Pullistumaton konkka voi olla kuivunut niin hitaasti, ettei paine ole päässyt nousemaan kannun sisällä. Isoissa elkoissa konkan kapseli saattaa olla niin löysä, että se jo hölskyy sisällä.
3. Pullistumaton konkka voi myös olla täysin ehjä.
Mittaaminen on ainoa varma tapa todeta kunto. Yleismittarilla näkee vain kapasitanssin, mikä sekin on jo hyvä indikaatti; jos kapasitanssi on selvästi pudonnut niin saattaa olla ikääntynyt, mutta esim. 5…10% poikkeamasta ei voi varmuudella sanoa, onko kyse ikääntymisestä vai valmistustoleranssista.
Paras keino kotioloissa on käyttää komponenttianalysaattoria, millä pystyy mittaamaan ESR:n sekä häviökertoimen (DF).
Tomi Engdahl says:
Esa Heikkinen Tuossa on sellainen haste, että nuo tantaalit on labraukseni mukaan usein mittaamalla ihan OK, sekä ESR-arvon, että kapasitanssin osalta. Mutta heti kun niihin laittaakin voltin, pari DC-jännitettä navoille, niiden toiminta muuttuu täysin.
Ja kytkennässä ne on usein juuri sellaisessa paikassa (esim vahvistinasteiden välissä), että niillä on useita voltteja DC:tä. Ja ne alkaakin käyttäytyä todella omituisesti.
Siksi ainakin nuo tantalit vaihtaisin kaikki.
-M-
Tomi Engdahl says:
https://arstechnica.com/gadgets/2025/03/was-the-early-2000s-capacitor-plague-corporate-espionage-or-just-industry-woes/